Aarons speed shop: 3-31-15 carport addition

Document and share your build!
User avatar
speeding-g60
Posts: 2152
Joined: Fri Mar 01, 2013 10:46 am

Aarons speed shop: 3-31-15 carport addition

Post by speeding-g60 »

not all projects are cars. this one isnt directly about cars, but rather about where said cars shall be born and live.....

its only a start, we have been here 5 nights now, and of course even disabled i cant stop working on SOMETHING.

24x48 with 200a 220v service panel with 7 OPEN 220v breakers even!!!! i already got my housewarming present, a small Grizzly lathe :) 8-)

knocked the center divider wall out and it visually seems as though the space (24x48) tripled. no shit, it really made it that much bigger seeming by being all open. and i got a mini-ex and a hydro-hammer to break out a 12x24 slab that was less than smooth enough for me. the new 24x24 slab gets poured back and burned on tuesday. the 10x8 garage doors go on week after next, and then someday i will frame out the 12x10 opening with barn slider door to have a roll-up as well.

some pictures pre-purchase, and then some of the stuff i did today, one-armed and all. its hard to operate an excavator to break concrete with only one arm. kinda sucks actually,

Image

Image

Image

Image

Image

Image

Image

then along comes me with my big toys.

Image

Image

Image

Image

Image

Image

Image

Image

thats for the few who asked to see it. just wait, give me time, i been here for 5-6 days now LOL. plus i am disabled and can only use one arm right now.
Last edited by speeding-g60 on Tue Mar 31, 2015 11:20 pm, edited 10 times in total.
User avatar
ringbearer
Posts: 1282
Joined: Wed Feb 27, 2013 12:50 pm
Location: Nor-Cal

Re: Aarons shop project..... begun.

Post by ringbearer »

You sir are one of the most motivated folks I've ever seen!

Looks great but I'm sure you have some tricks up your sleeve
User avatar
Marc
Posts: 1586
Joined: Wed Feb 27, 2013 1:33 pm

Re: Aarons shop project..... begun.

Post by Marc »

did you have access to the mini-x or did you rent it?

curious how much to rent one with a hammer like that? I have a project that could use something like that.
Marc Swanson
Proprietor, EFI Motorsport
User avatar
speeding-g60
Posts: 2152
Joined: Fri Mar 01, 2013 10:46 am

Re: Aarons shop project..... begun.

Post by speeding-g60 »

my rental guy thru worked hooked it up for a "one day over weekend" deal. i could (did use it friday evening) use it today and tomorrow if i needed.

it was $535 all in for the ex, the breaker, the bucket, the trailer, the chains, the binders. they charge you for every single thing. the trailer was like $57. the binders 10. the chains 5. 3 of each.

the machine was like 275 or so and the breaker was like 210 or something. bill is in the truck outside. and tax 40. the bill was like 494 and change then the tax.
User avatar
speeding-g60
Posts: 2152
Joined: Fri Mar 01, 2013 10:46 am

Re: Aarons shop project..... begun.

Post by speeding-g60 »

my company does have its own equipment but they are out on jobs making money. after i had picked this up one of the larger skidsteers with breaker showed back at the yard, but i already had this.
User avatar
Marc
Posts: 1586
Joined: Wed Feb 27, 2013 1:33 pm

Re: Aarons shop project..... begun.

Post by Marc »

gonna go any thicker on the new pour or just 'more flatter'?
Marc Swanson
Proprietor, EFI Motorsport
User avatar
speeding-g60
Posts: 2152
Joined: Fri Mar 01, 2013 10:46 am

Re: Aarons shop project..... begun.

Post by speeding-g60 »

Image

Image

Image

Image

Image

Image

Image

Image

Image

Image

Image

Image

Image

Image

now what the heck to do with all that concrete? i am thinkin to pull an Andy Dufresne (The Green Mile), and bring a little bit to work every day hahaha.
User avatar
All_Euro
Posts: 319
Joined: Sun Mar 03, 2013 10:59 pm

Re: Aarons shop project..... begun.

Post by All_Euro »

Cool update - great to see the new workspace. Looks like you have oceans of room... but probably not enough before long ;)

$500 for a weekends worth of the mini-hoe and attachments, trailer, etc. seems fair. Well worth it to keep things rolling and get the garage done right. The old slab looks nice and thick but is there no rebar in it? It looks like there was a crushed gravel base under at least part of it, which is good... what are your plans for the replacement slab?
Work - Houzz / linkedin
Play - Haldex Swap
User avatar
speeding-g60
Posts: 2152
Joined: Fri Mar 01, 2013 10:46 am

Re: Aarons shop project..... begun.

Post by speeding-g60 »

5-6" thick, mesh and a 2-3' wide strip of rebar between the center posts for reinforcement for placing the lift.

originally i had planned for the lift to be in the 2nd bay from the right, but after seeing the concrete, i have decided to do it in my new poured area instead. its not like i have a business where getting a car onto and off of the lift in a hurry is paramount. this is pleasure hobby stuff, nothing more. but my lift only requires 4" thick concrete, home garages do not have reinforcement steel, and it was fine there, soooooo.
User avatar
audifreakjim
Posts: 2142
Joined: Sun Mar 03, 2013 3:00 pm

Re: Aarons shop project..... begun.

Post by audifreakjim »

I like the new place!
my2000apb
Posts: 1944
Joined: Fri Mar 01, 2013 11:52 am
Location: CT

Re: Aarons shop project..... begun.

Post by my2000apb »

do you mean shawshank redemption?
User avatar
speeding-g60
Posts: 2152
Joined: Fri Mar 01, 2013 10:46 am

Re: Aarons shop project..... begun.

Post by speeding-g60 »

ya ya ya. Shawshank..... me and prison movies get a lil mixed up at times, i keep forgetting the movie from the reality from the other movie, etc ;)
User avatar
speeding-g60
Posts: 2152
Joined: Fri Mar 01, 2013 10:46 am

Re: Aarons shop project..... begun.

Post by speeding-g60 »

and when i took the mini-x back, i used my OR addy instead of the WA addy and it knocked down to like $437 total...... minimum charges all the way round and no tax!!!

concrete tomorrow!~!!!!! sofaking excited!@!!

then next week the bay doors go in. the right one (as looking at) gets flat track and the left one gets track that follows the roof pitch AND belt drive operator. with remote keypad in the house and two remotes.

i have such big plans.... work did a huge cleanout of the yard and scrapped most of my good stashed stuff, like a 3/8" steel fab table 5x10. with a huge bench vice. salvaged from a demo job. the two guys who did the cleanup cut my shit up and threw it away on purpose, to be spiteful cunts. but hey whatever. i dont get even. i get ahead. it'll happen.

but, on the good side, i still hAVE my stash of SS plate. 14ga 4x8 sheets of stainless sheetmetal. thats for the new work bench tops :) :nuts: makes for a great work surface....
User avatar
speeding-g60
Posts: 2152
Joined: Fri Mar 01, 2013 10:46 am

Re: Aarons shop project..... begun.

Post by speeding-g60 »

sooooooo. concrete slab today. i went to work to check in, grab some gear (muck rake, stakes, power trowel, cure can and cure (which failed on me of course), after i stopped at the Deep Homo race shop for some rebar and some lag bolts and metal brackets for unrelated (garage door hardware). walk in and see our concrete Super talking with our main boss who runs everything. we are all pretty close knit, and i walk in with my shirt over my nose. Kiwi turns and says "what the fuck is wrong with you NOW mate?". i tell him i have bronchitis, and before i can say another word, the big boss says "get the fuck out of here. go home. dont come back we dont want you spreading your germs around here. take your sickness and leave".

BINGO!!!!!! now i dont have to run back to the house, drop the gear, and leave coming back to work! might not go in tomorrow either, who knows. nah i will go in to return the Whirly and other stuff, grab my tools and gear for the concrete demo and repour job for thurs/fri, and bug on out.

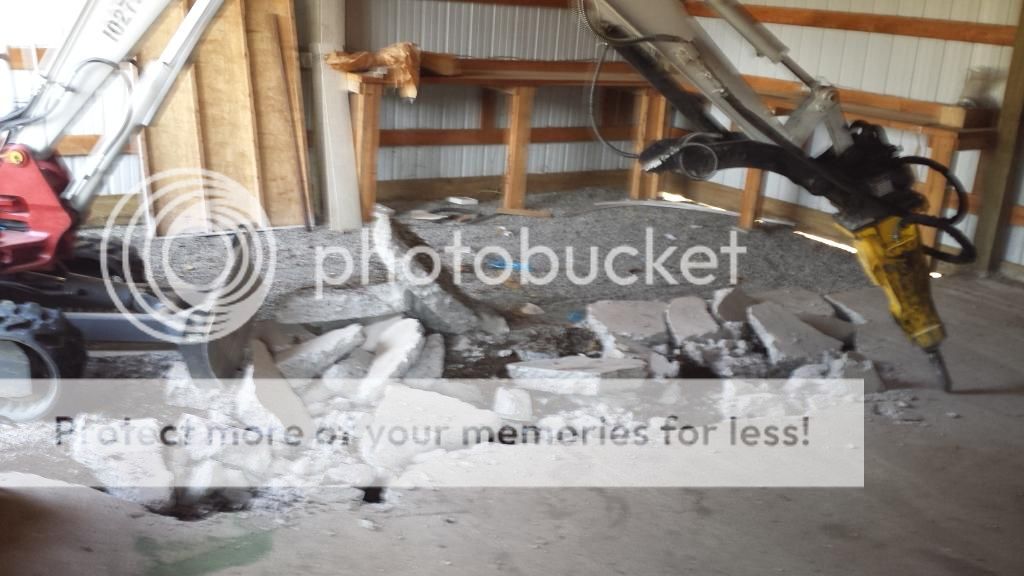
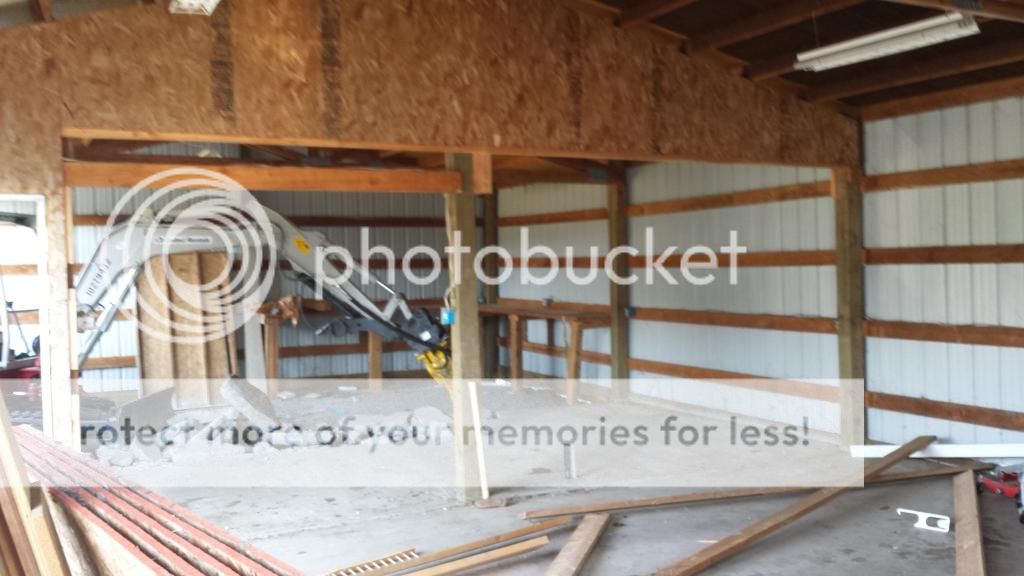
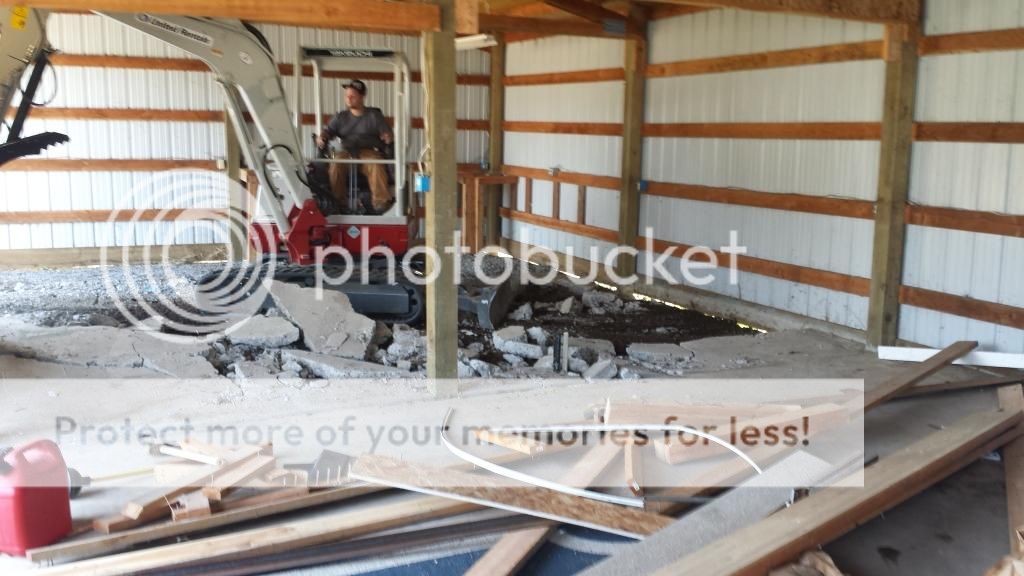
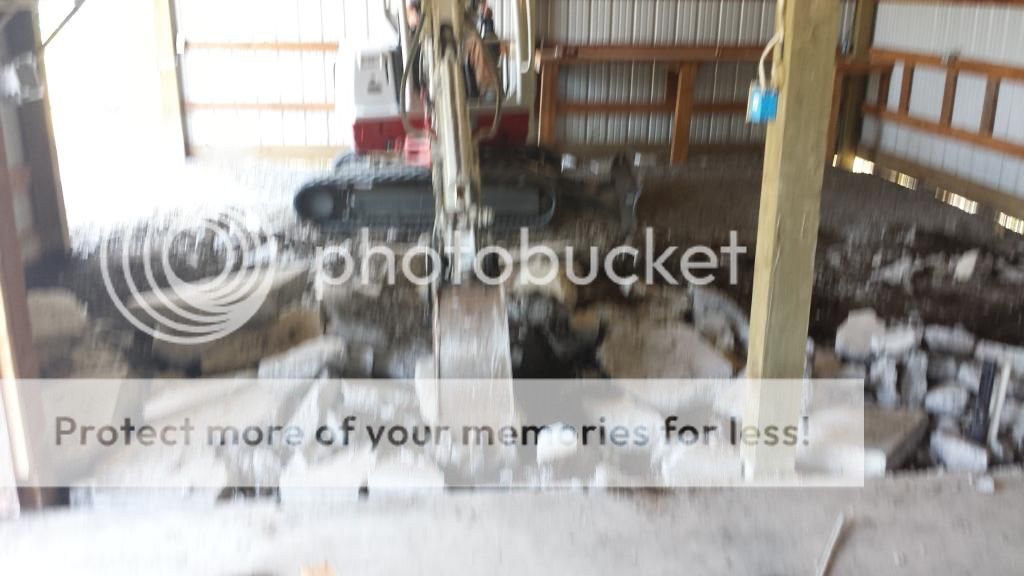
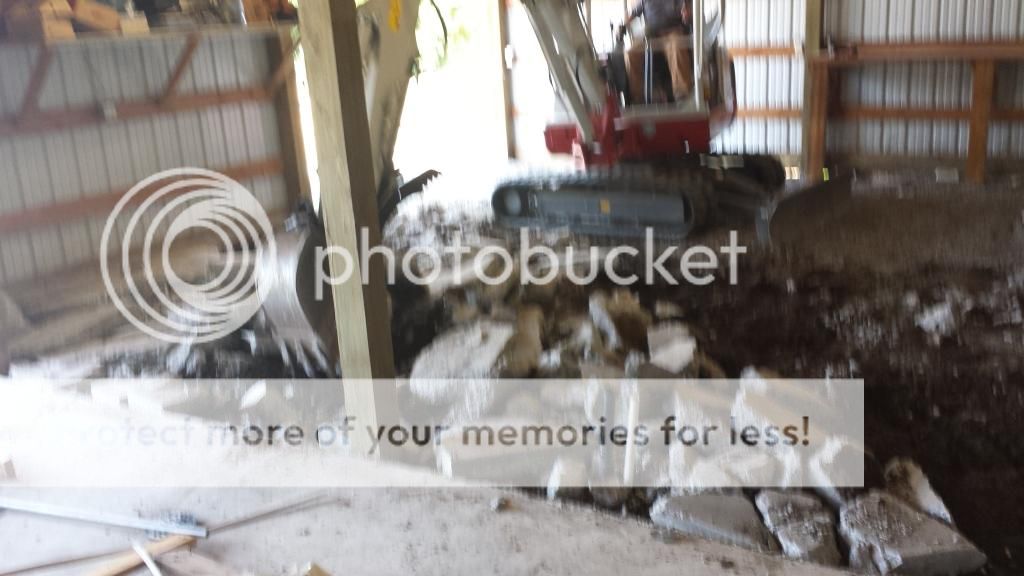
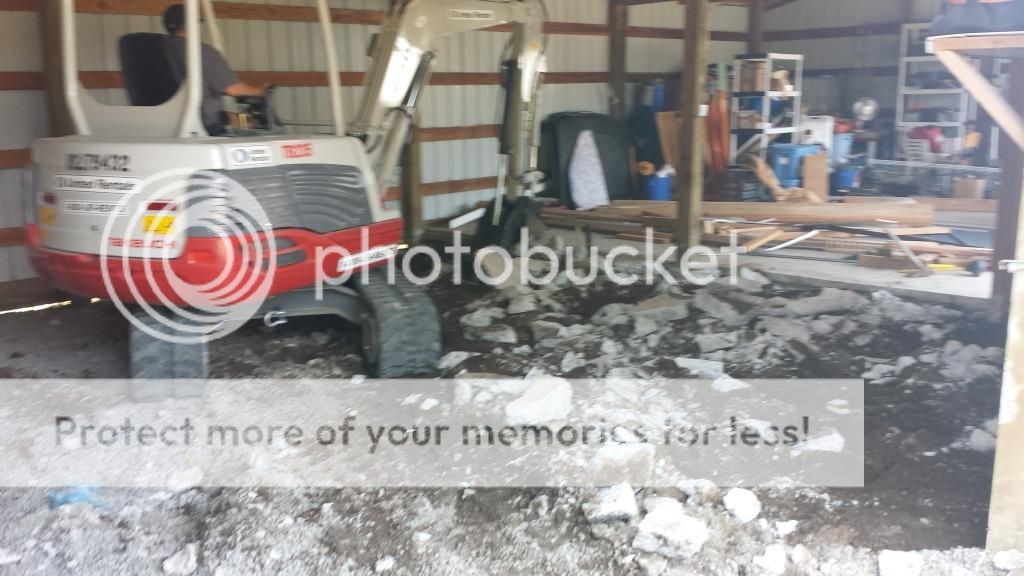
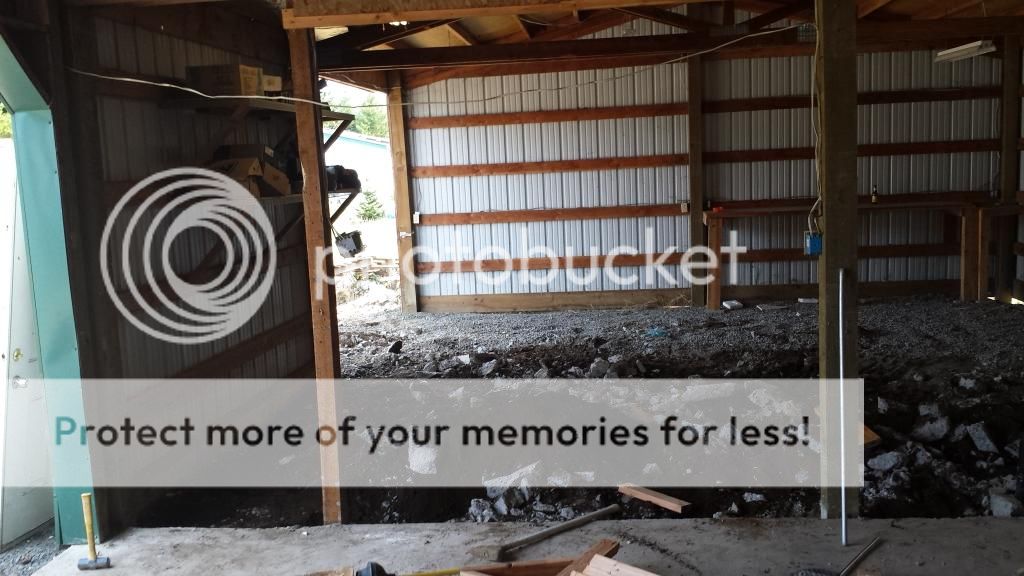
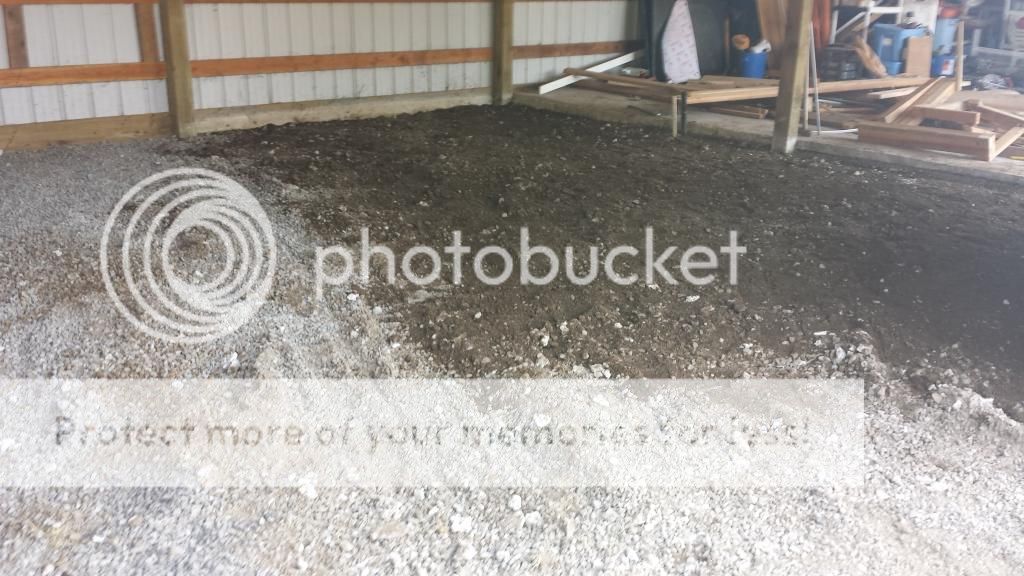
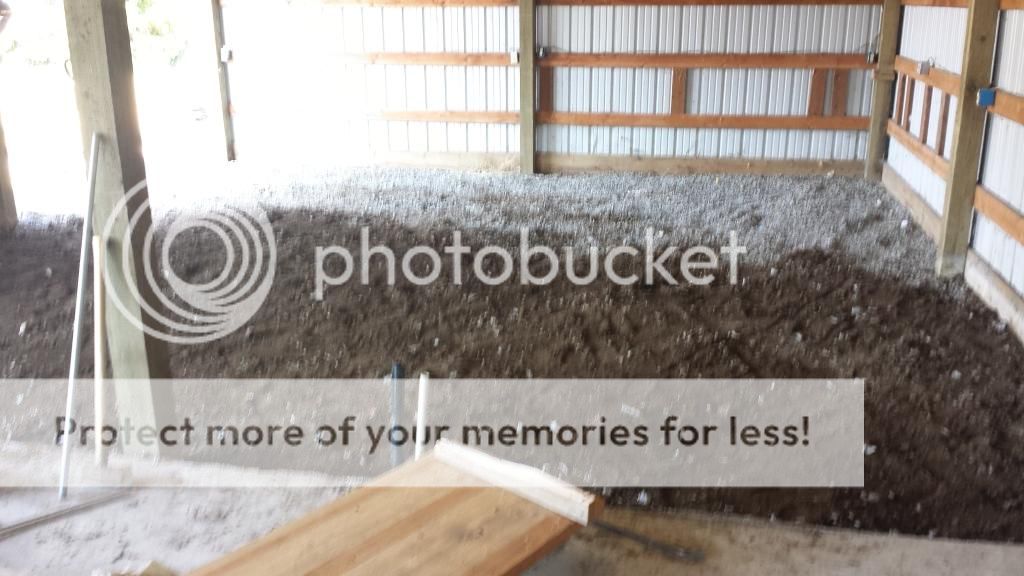
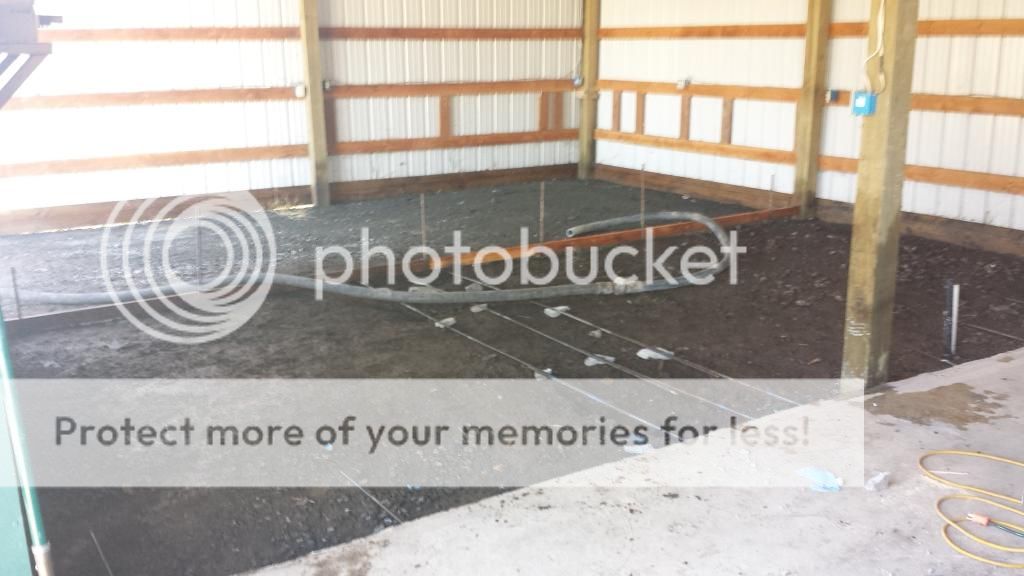
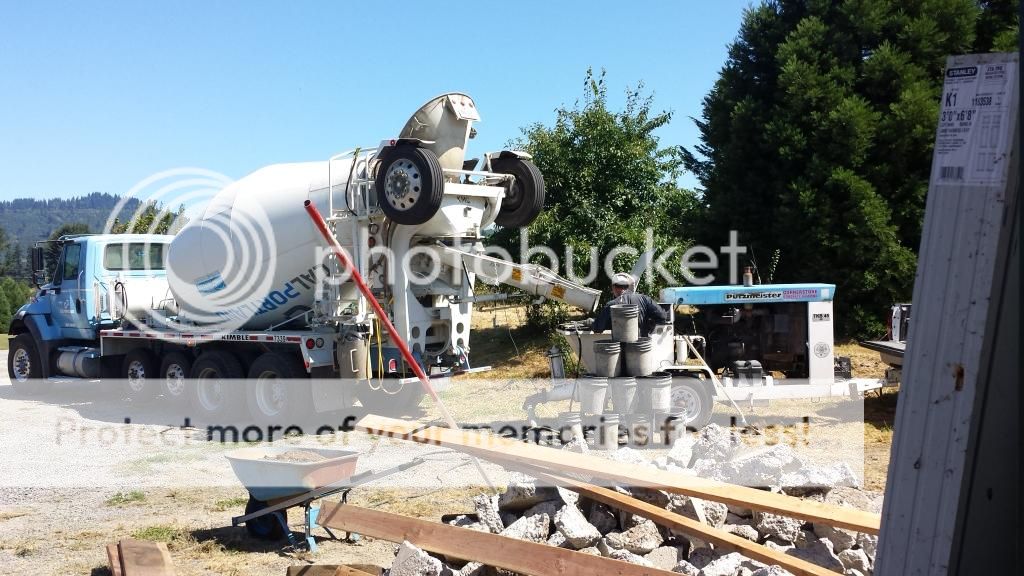
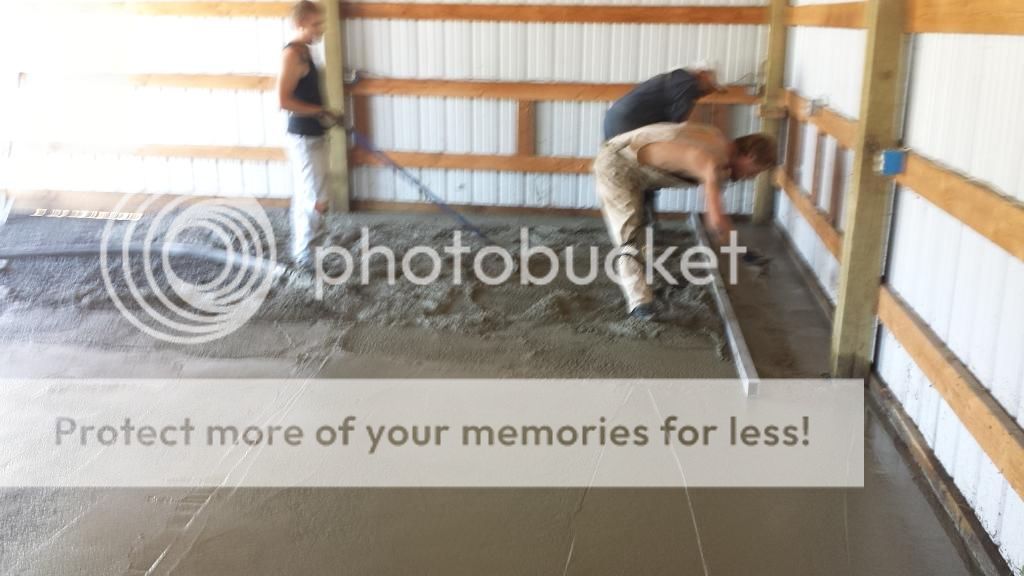
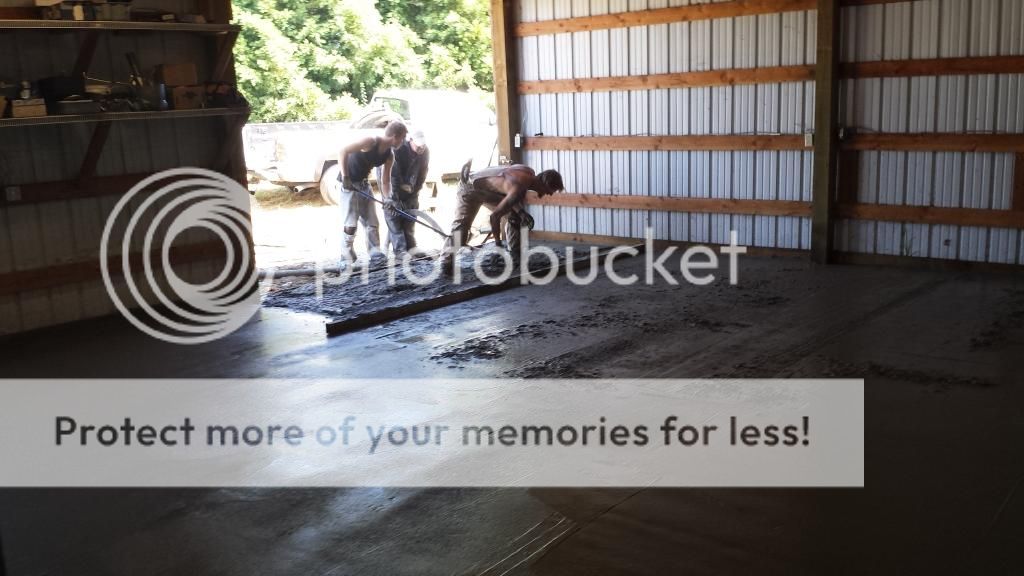
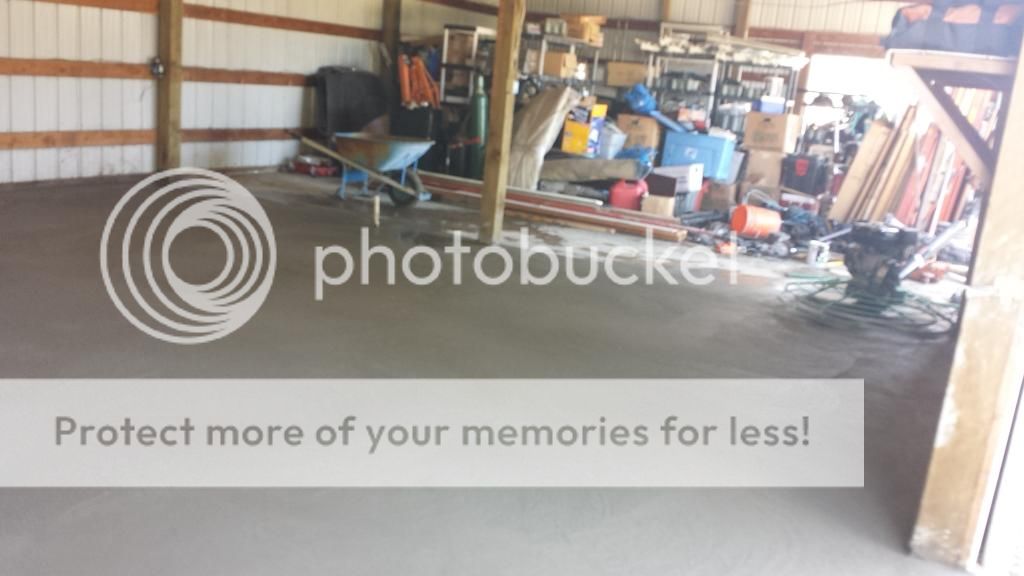
mud is at 11. pump truck at 10:30. the two man crew bust out all of the minor things like setting grade, raking and compacting, rebar (i did some few holes drilled to keep the slabs from drifting apart height wise) and then dug out for a little extra depth where the lift may possibly go sometime later on. couple 3 sticks of rebar there too. just because it cant hurt.

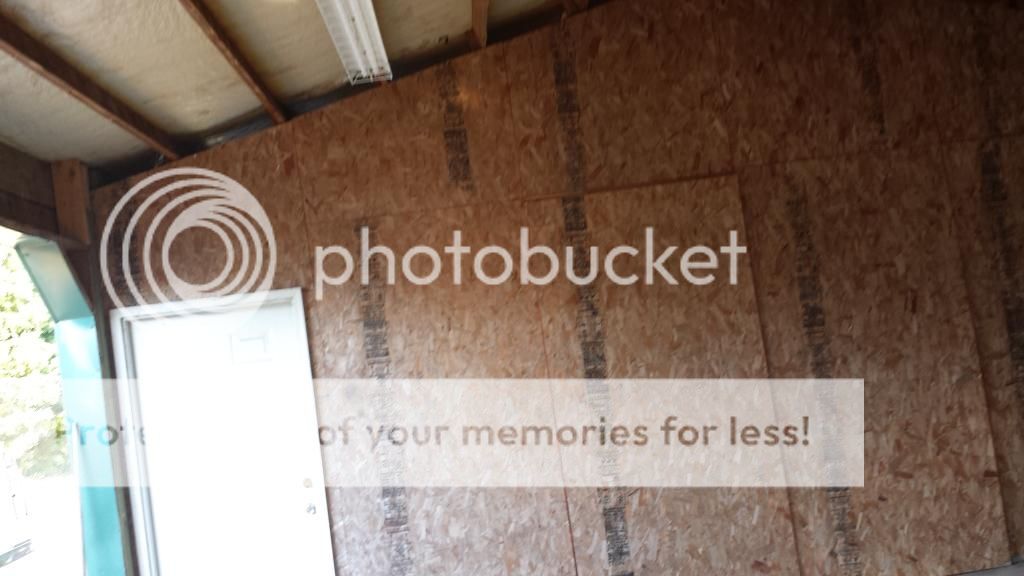
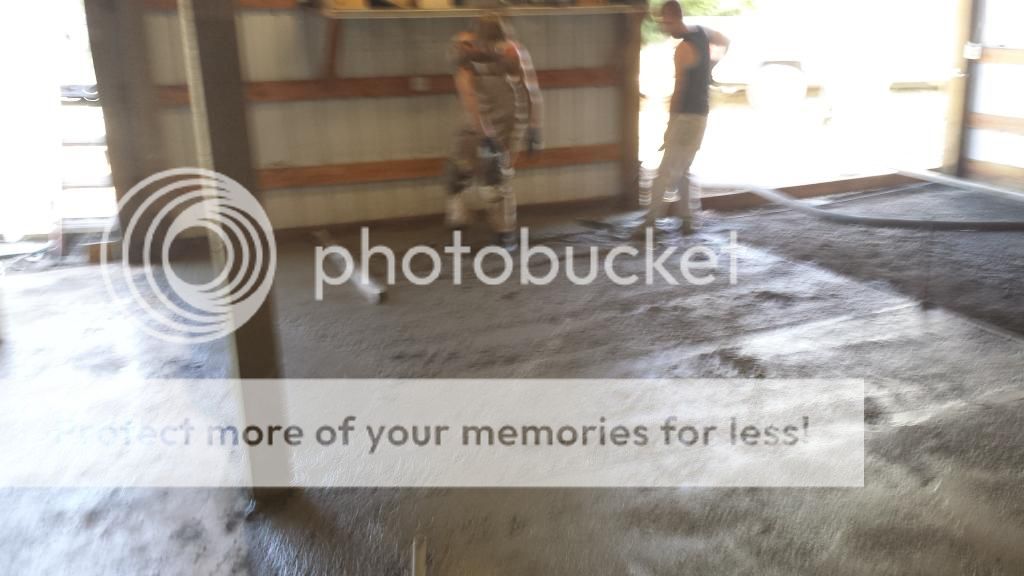
mud is down in an hour. then 5.5 hours finishing it. with a few breaks along the way to pull the laundry sink to replace the faucet, pull both drains in the kitchen sink to seal them (they leaked) and to redo some structural mounts for the upcoming garage roll up doors coming shortly.

even though i am one armed, i do all that i can and much that i probably should not be doing, like pounding stakes one handed to secure form boards. i got a foot that held the stake, no biggie. i know what i shouldnt be doing, and i push past that to some extent thinking i may be able to squeak by but hopefully not overdo it.

but, i got life to live, progress to make, and i cant sit idly by watching things happen (or not happen) around me.

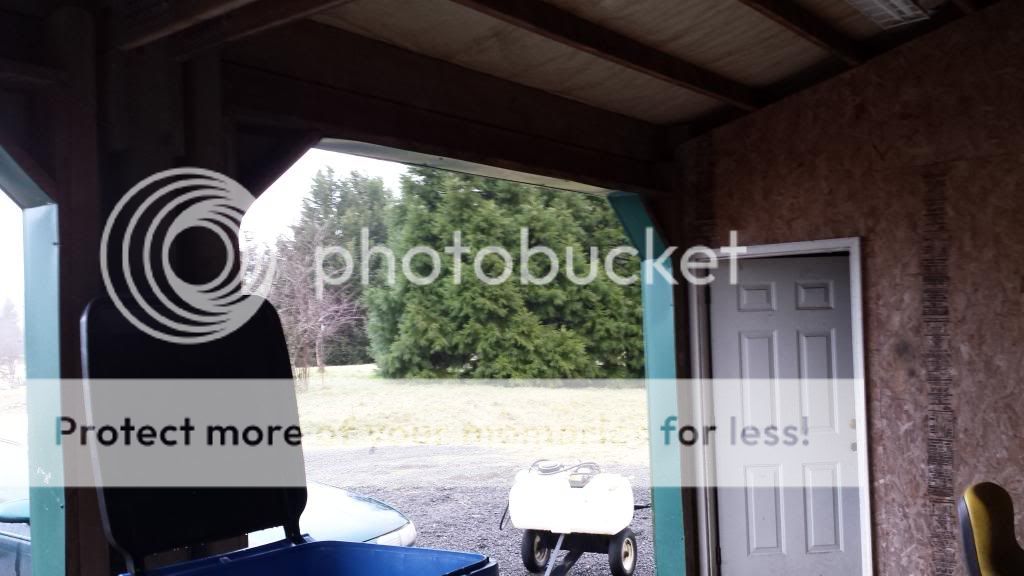
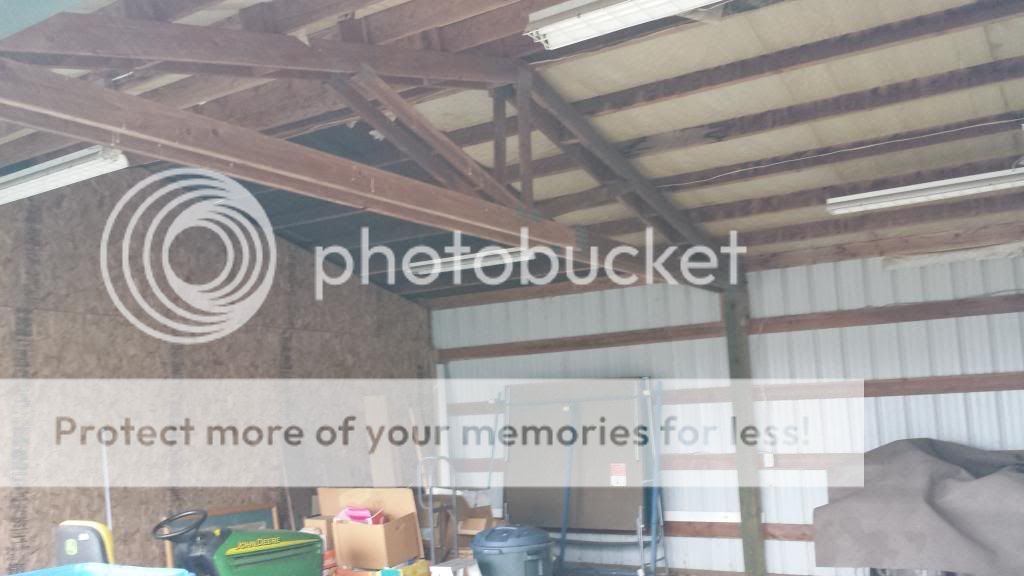
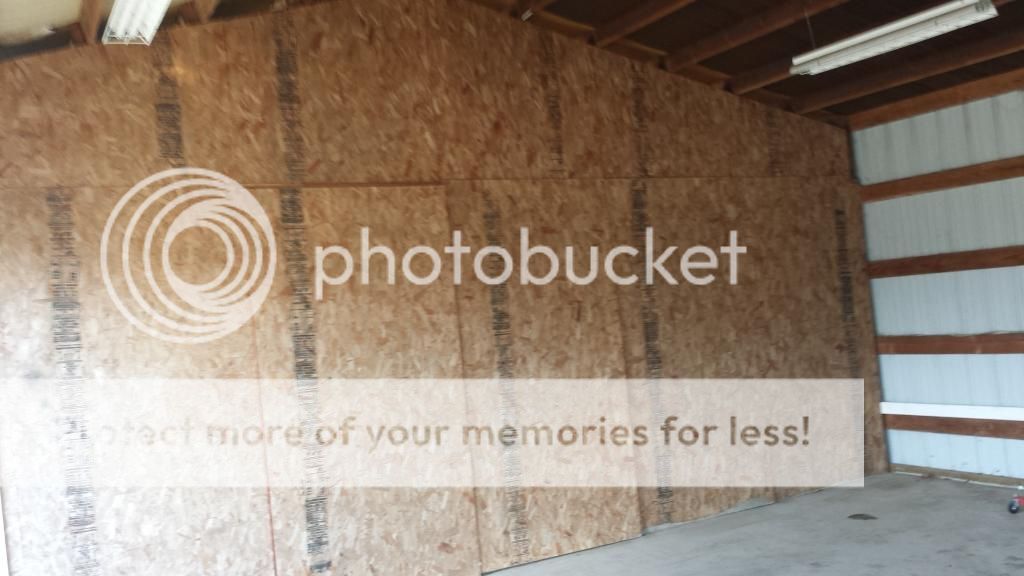
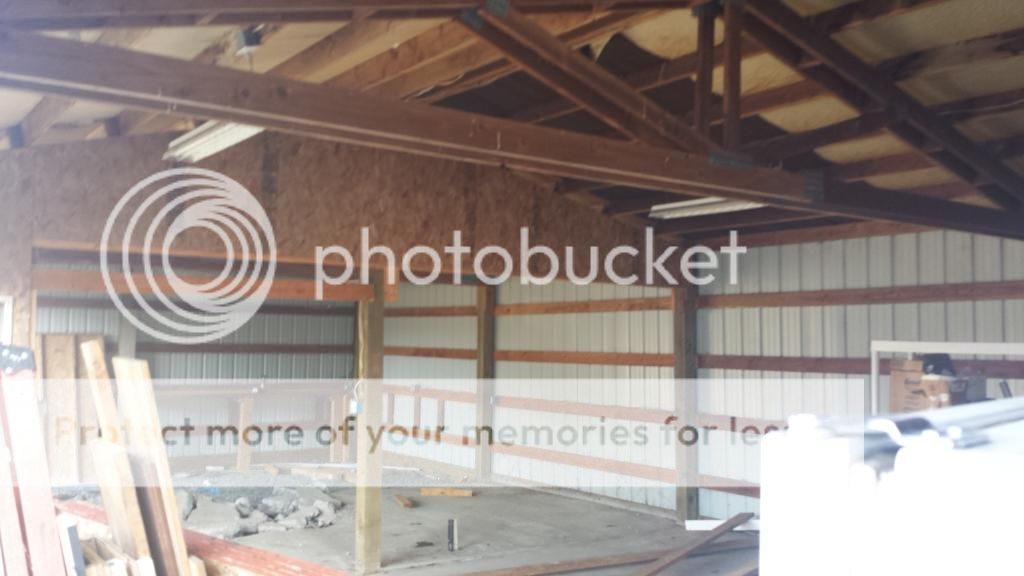
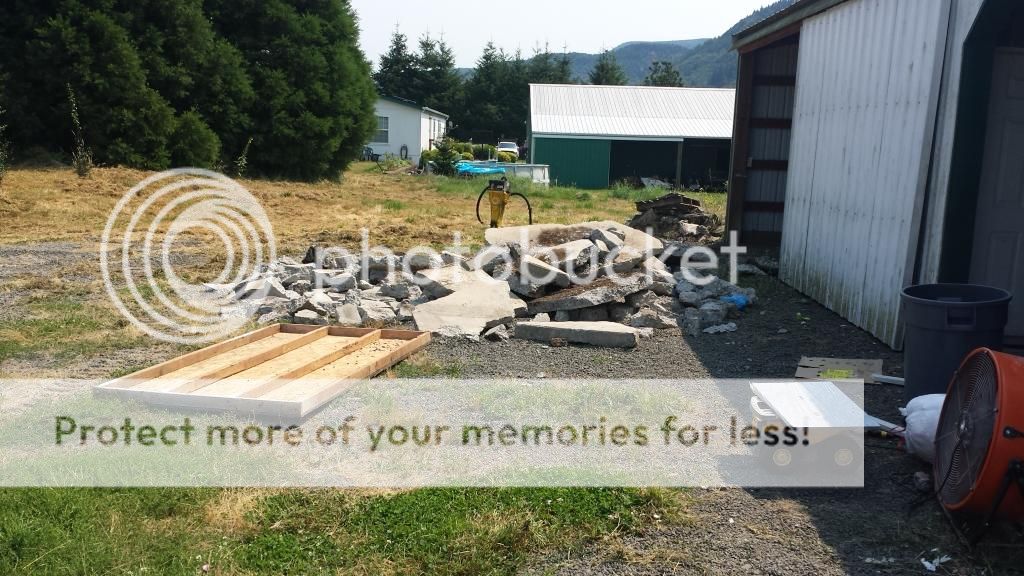
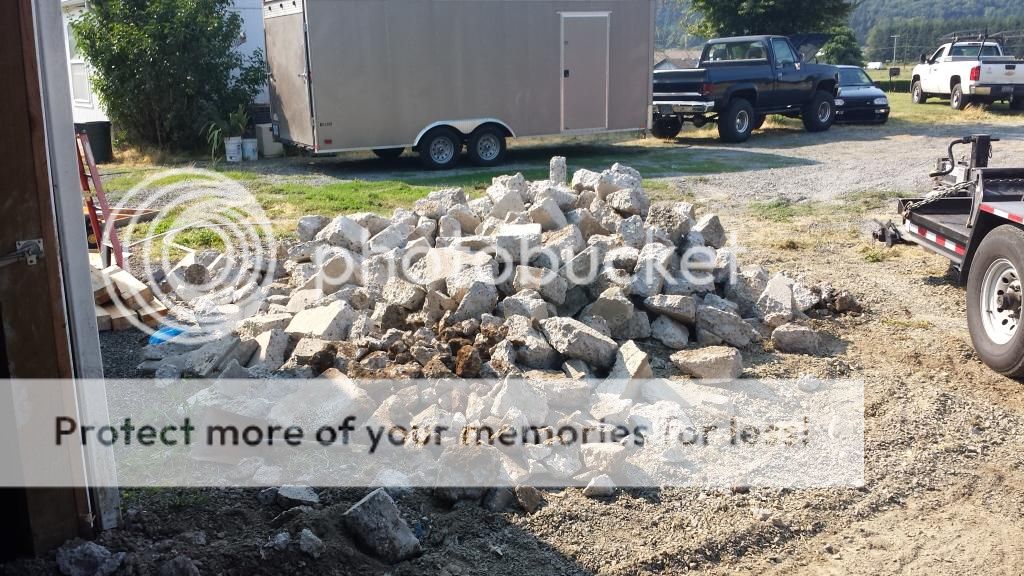
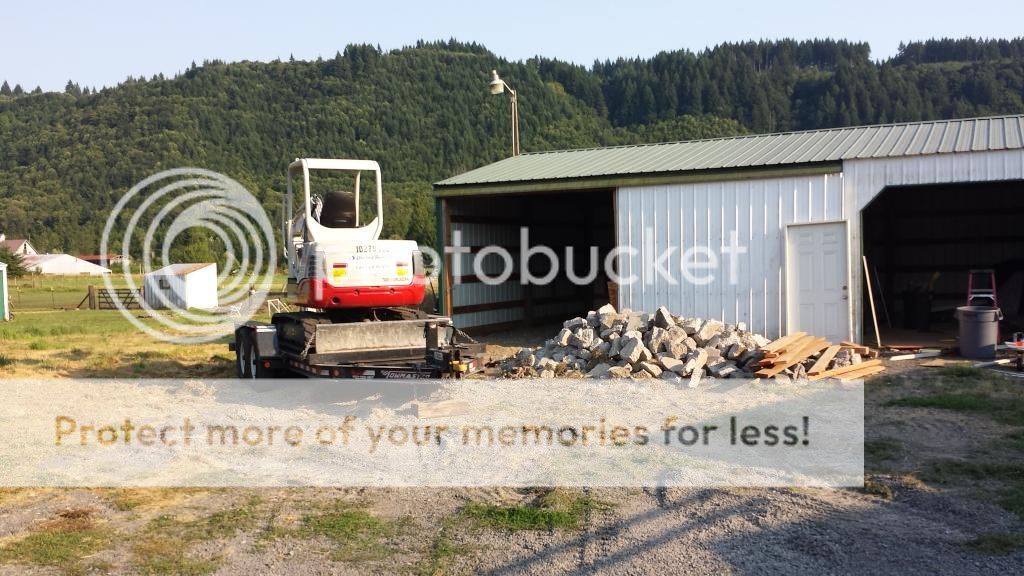
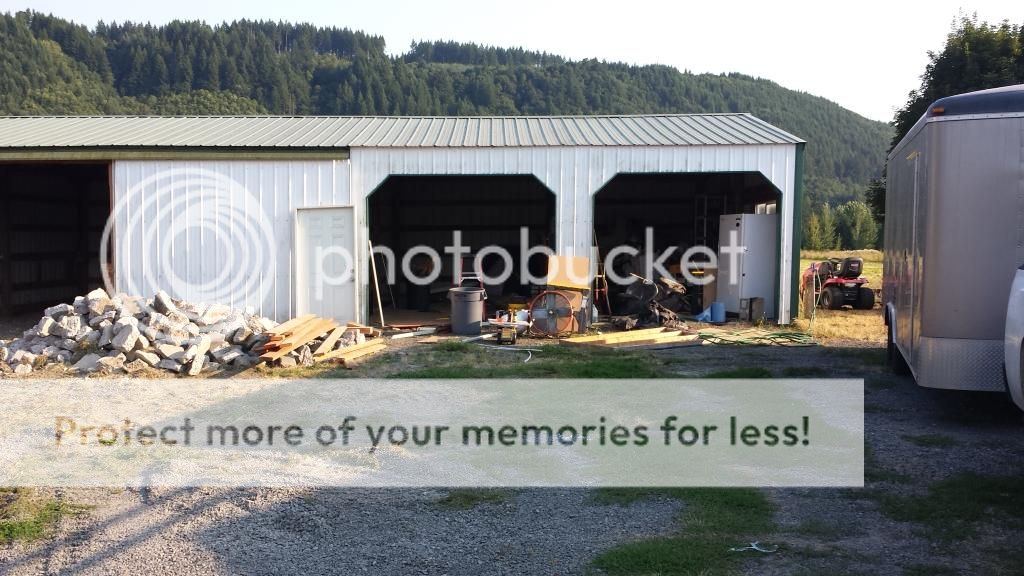
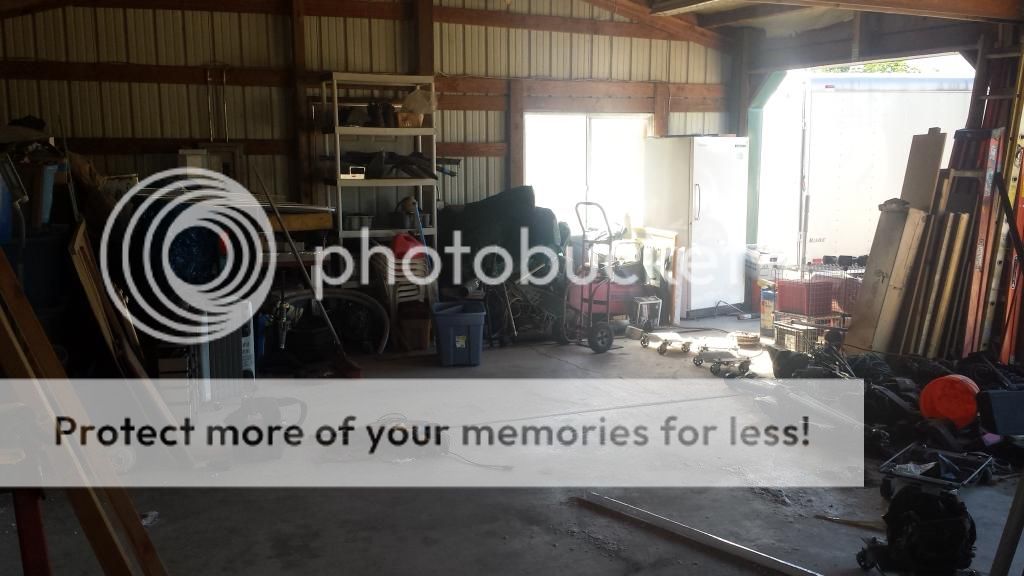
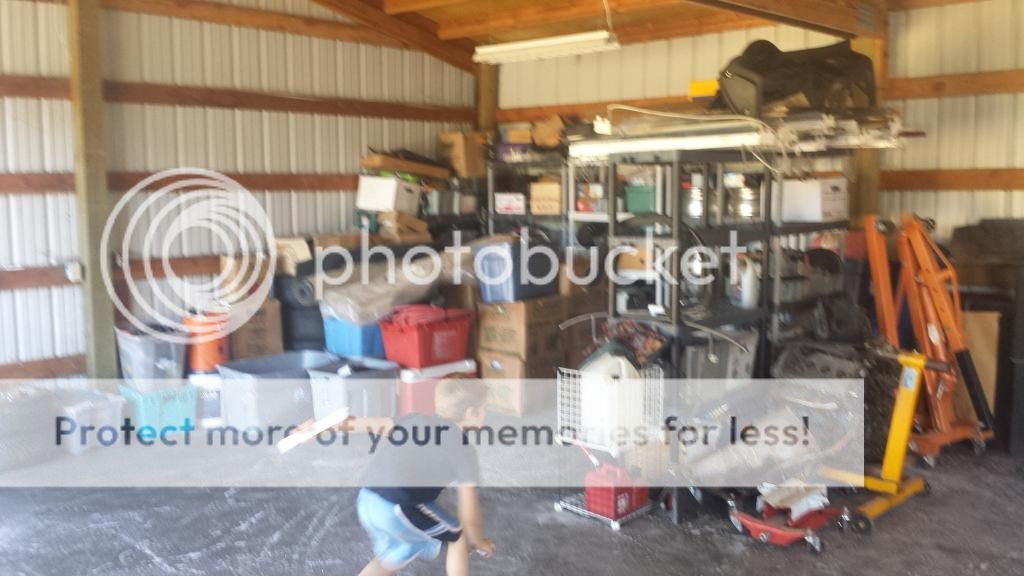
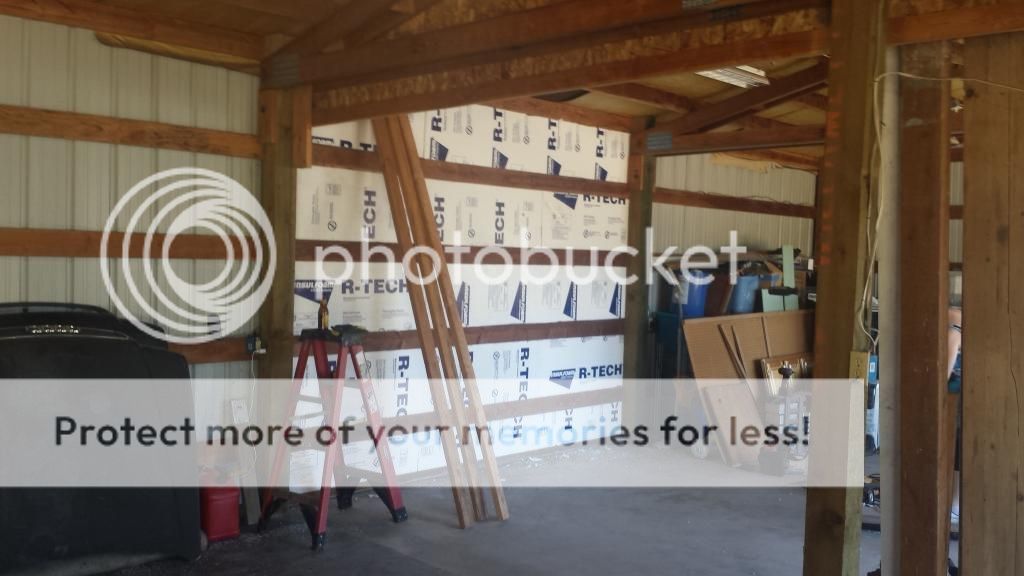
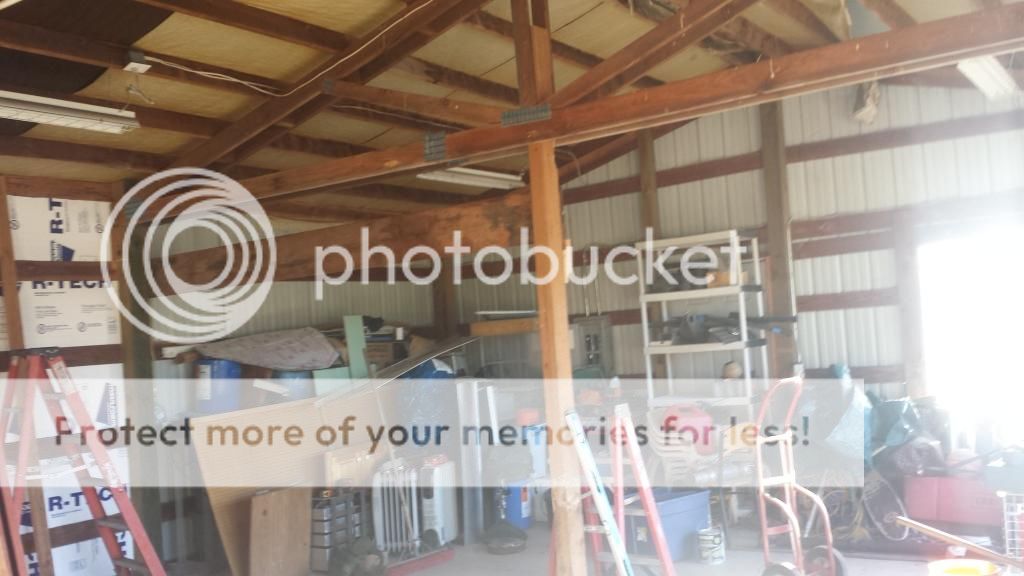
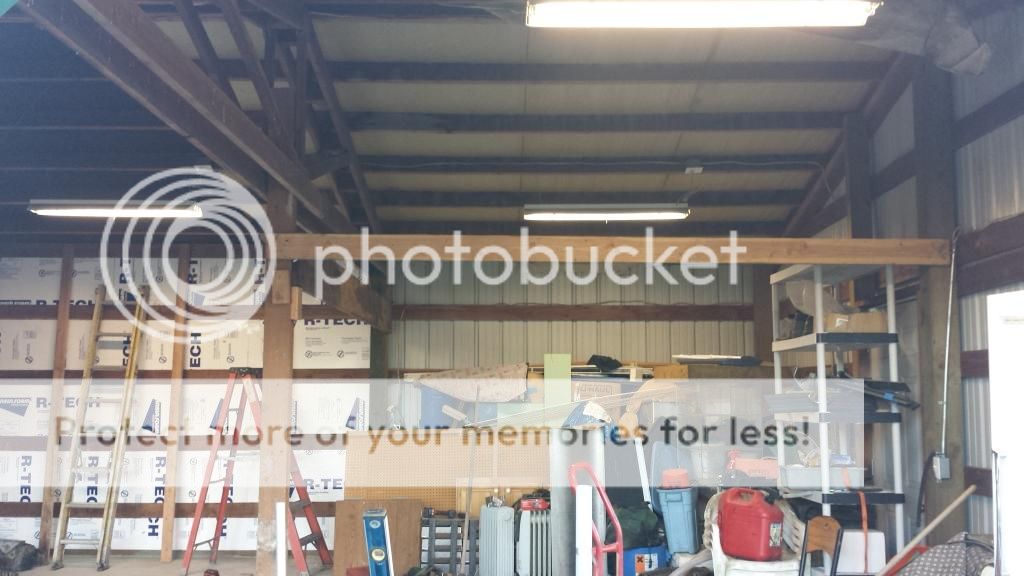
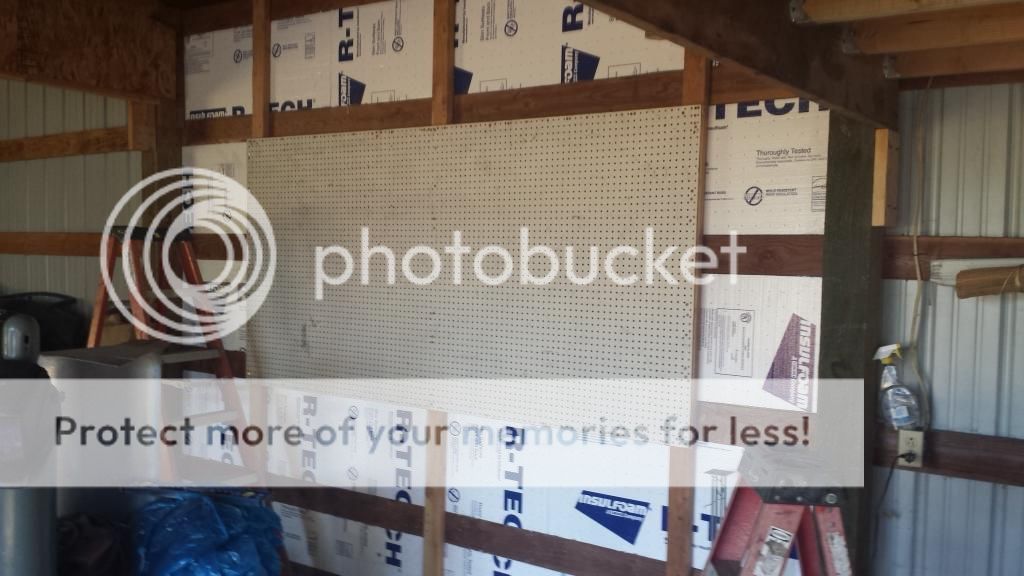
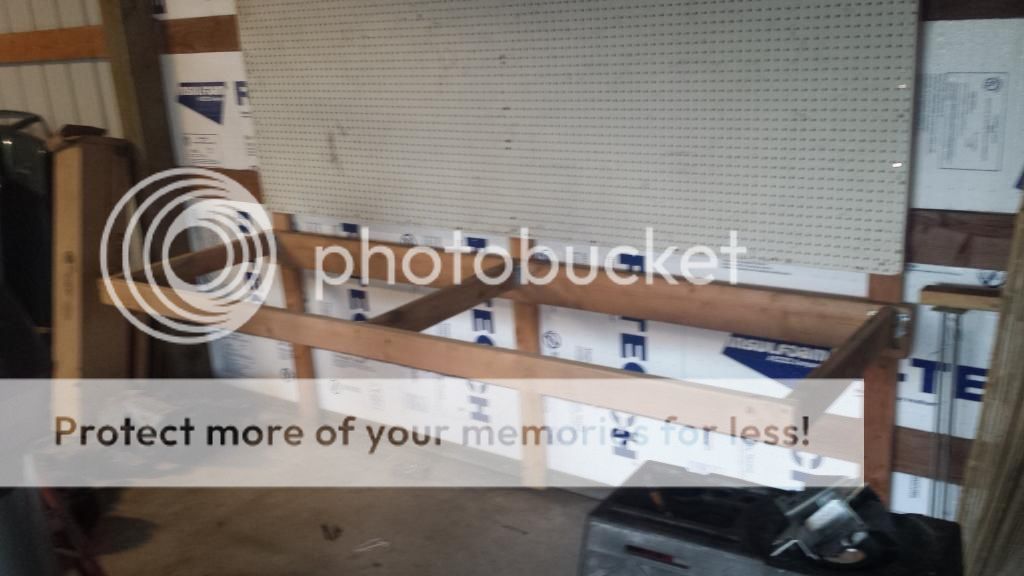
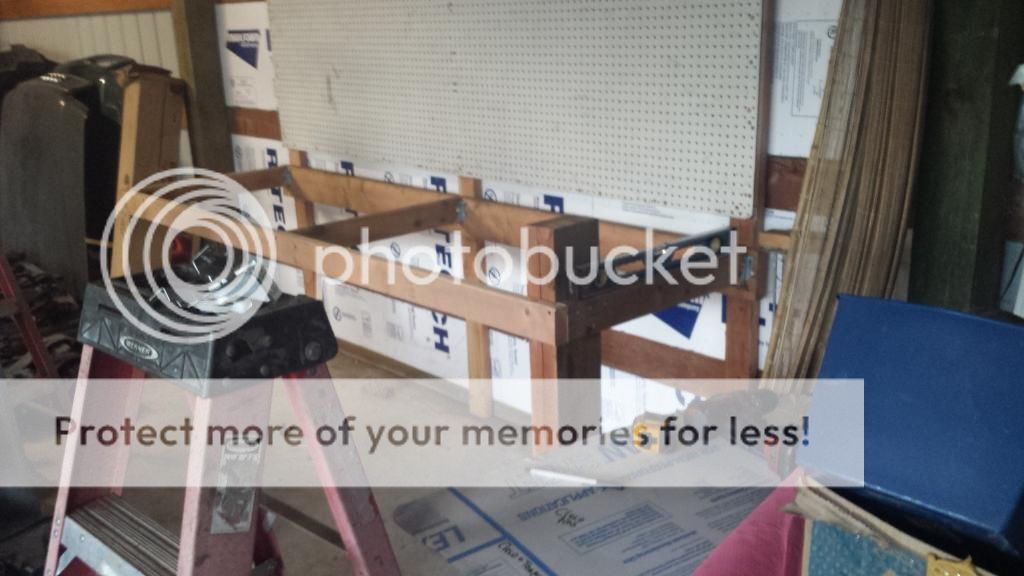
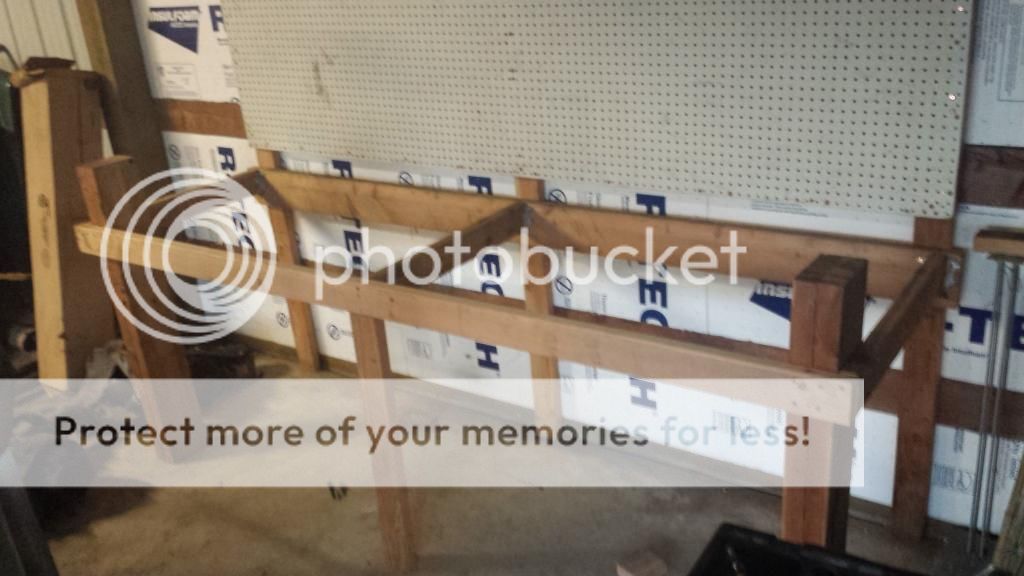
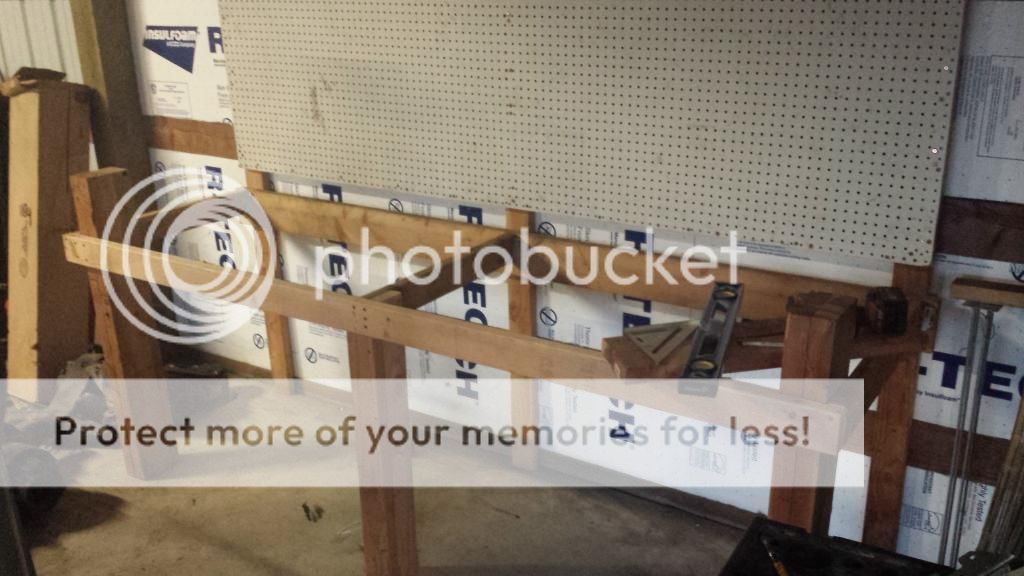
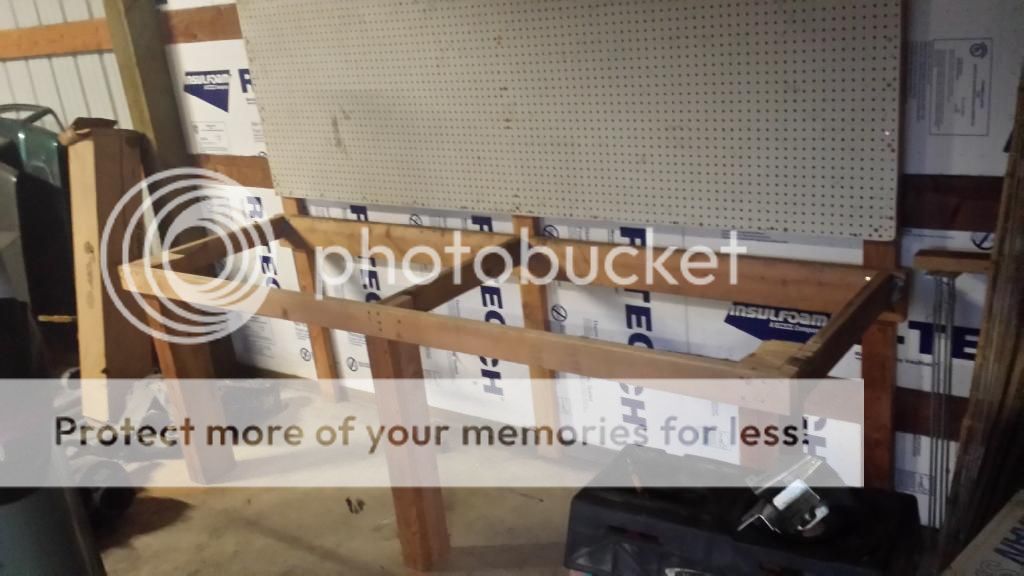
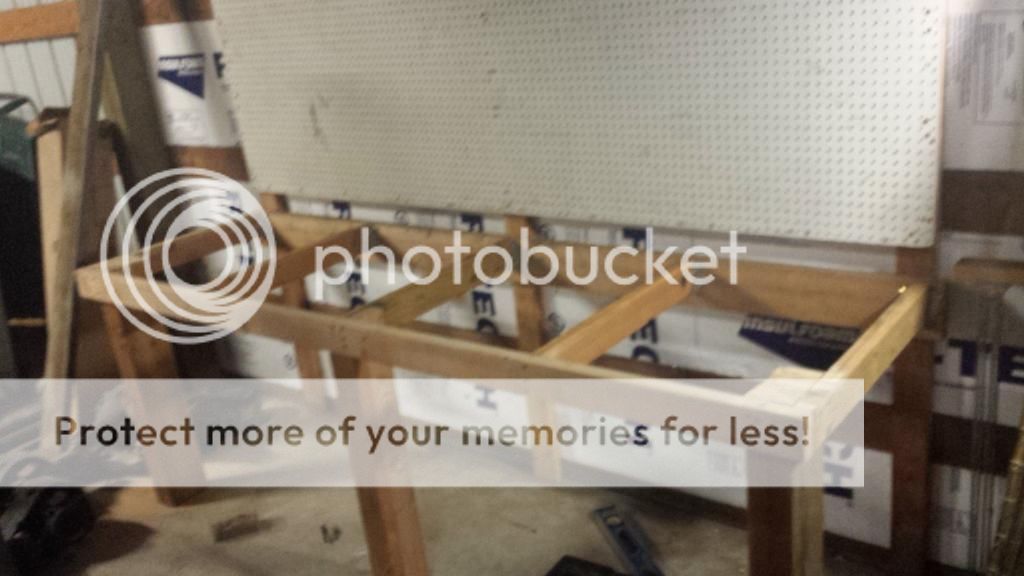
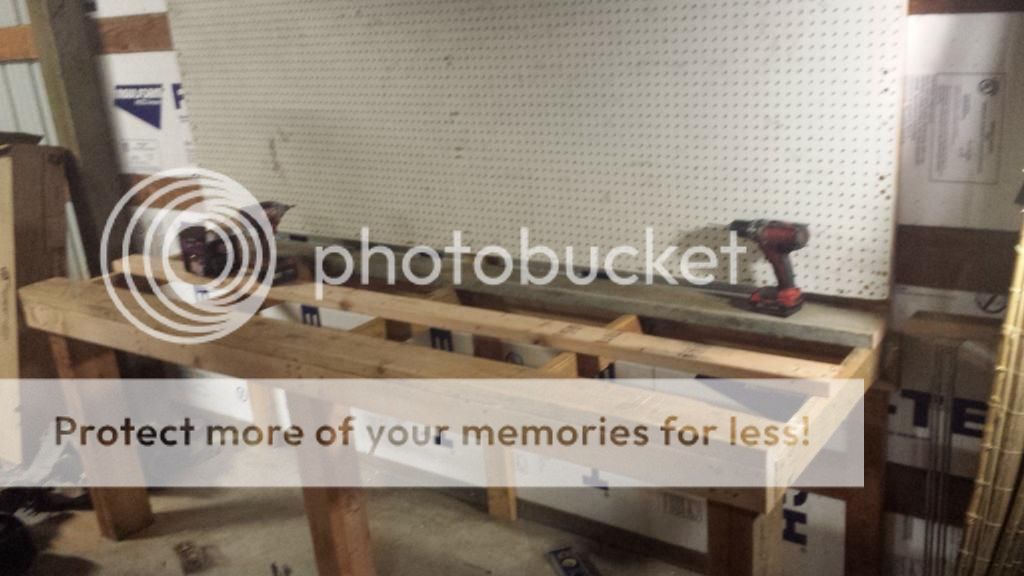
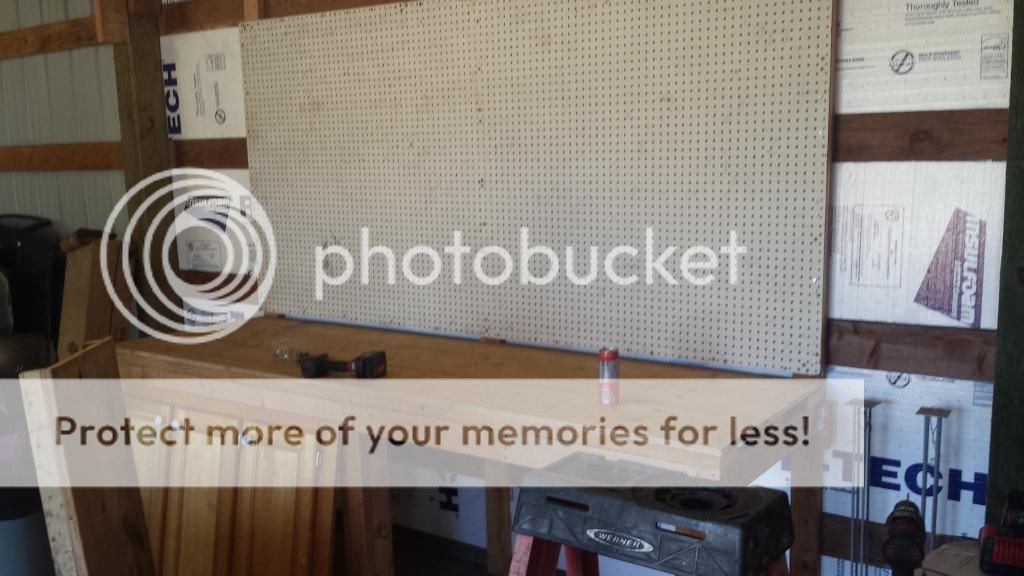
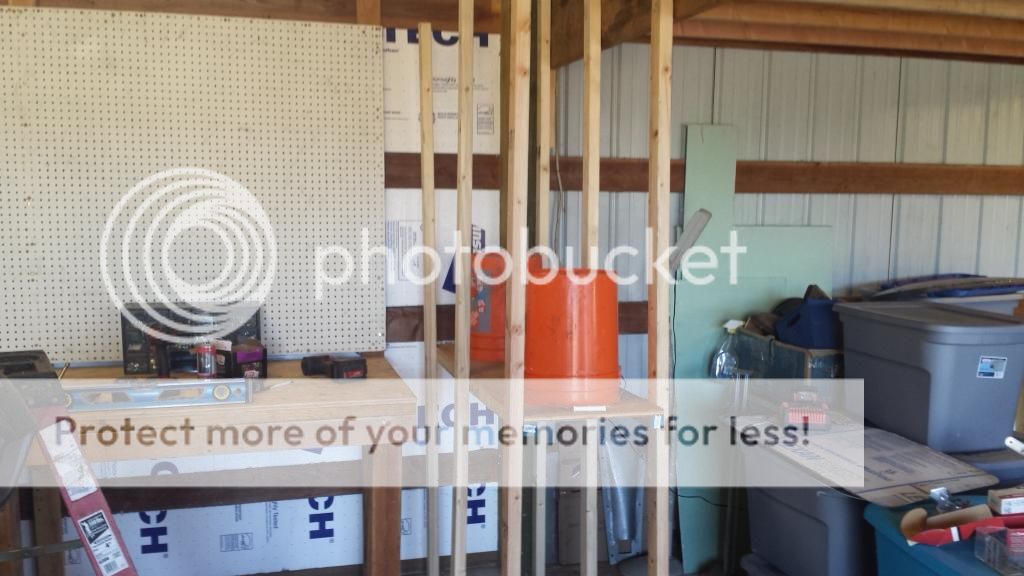
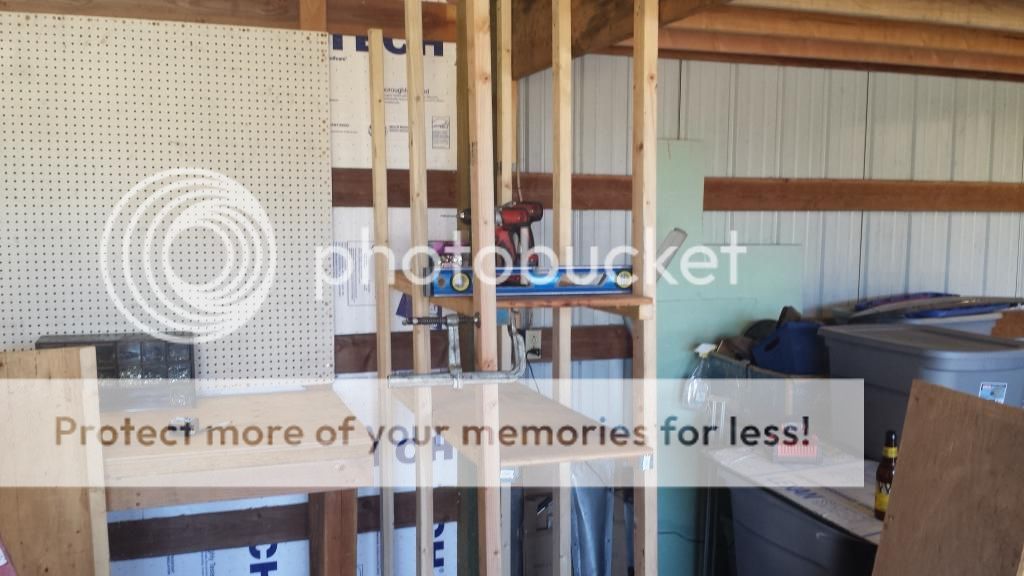
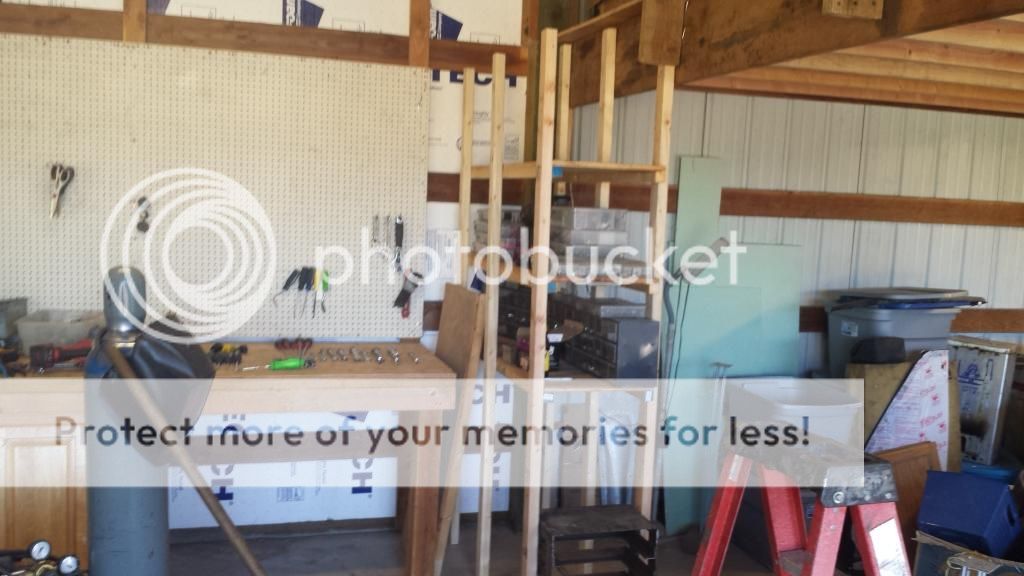
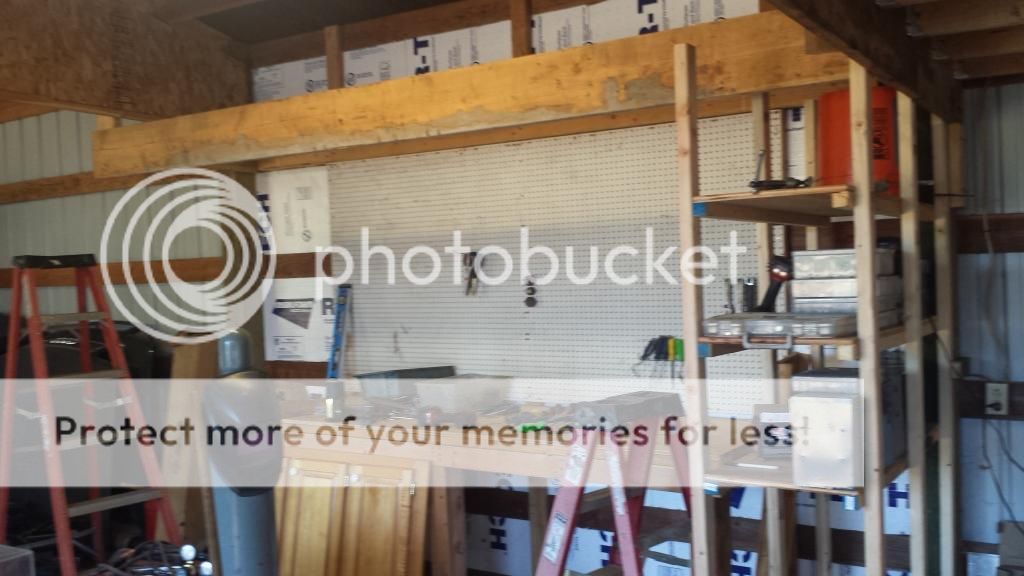
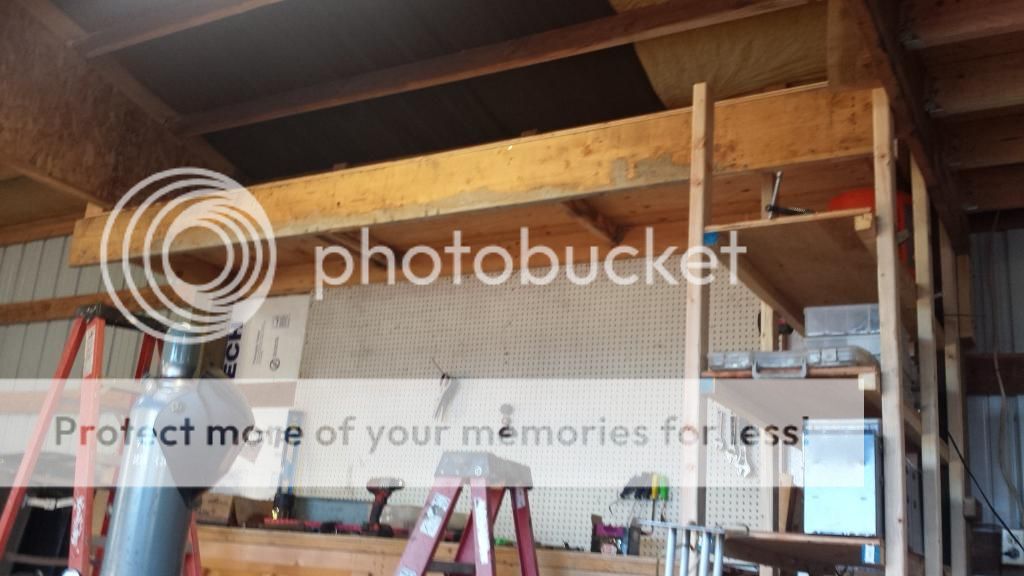
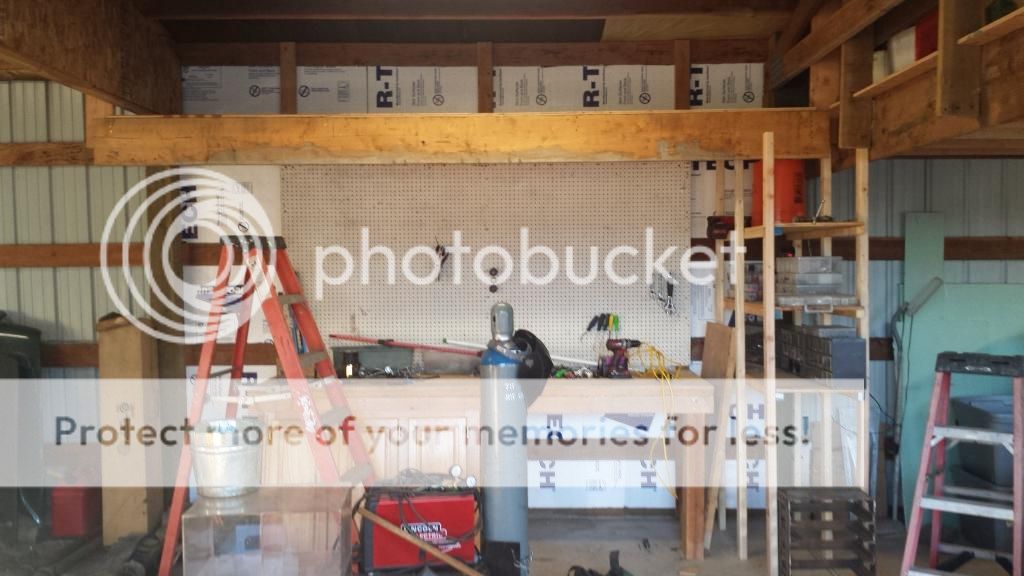
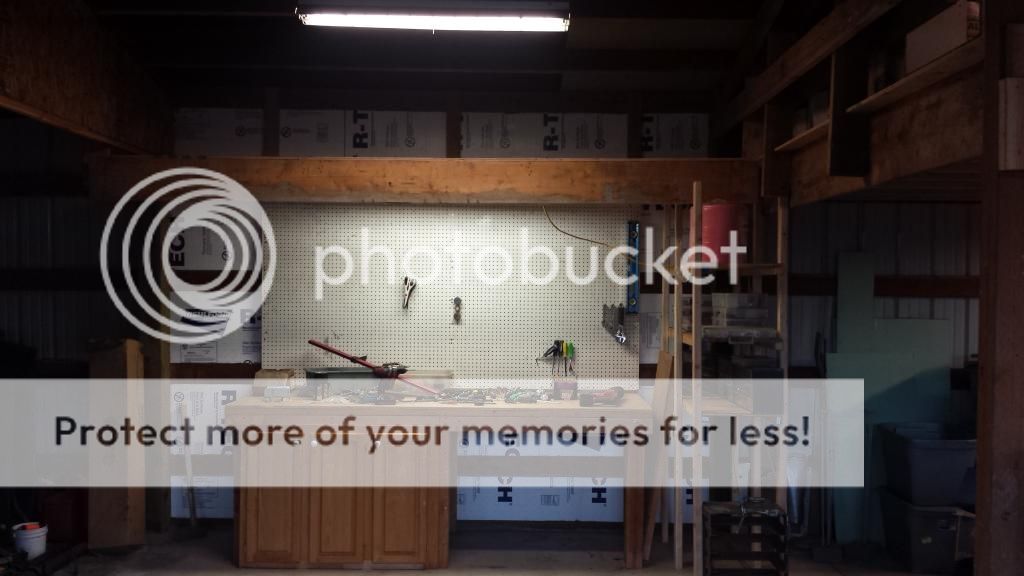
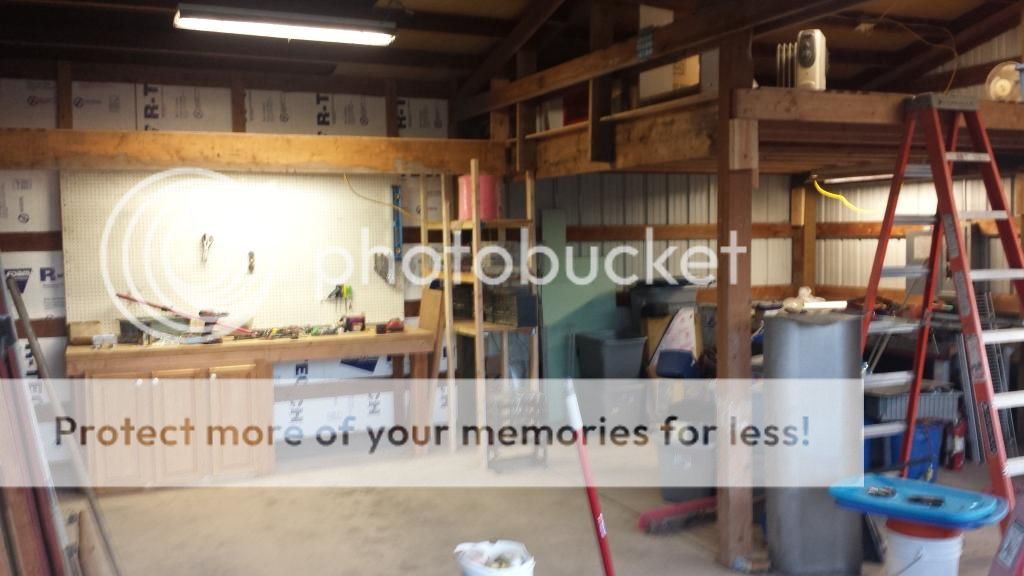
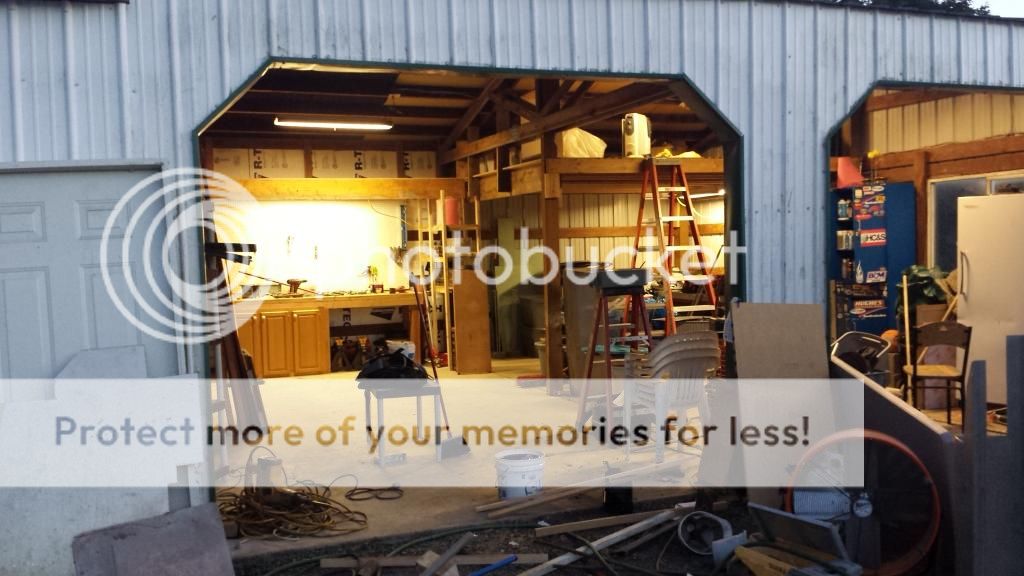
pictures. tomorrow evening i plan to move a lot of this stuff over to that corner..... to make the required space for the garage door guys job soon!

order of 10 yds concrete: $1310.71 gotta pay for your order even if you do not use it all. we used around 9 yds.
pour and placement guys: $450 and $100
pump: $270
misc stuff: $60

Image

Image

Image

Image

Image

Image

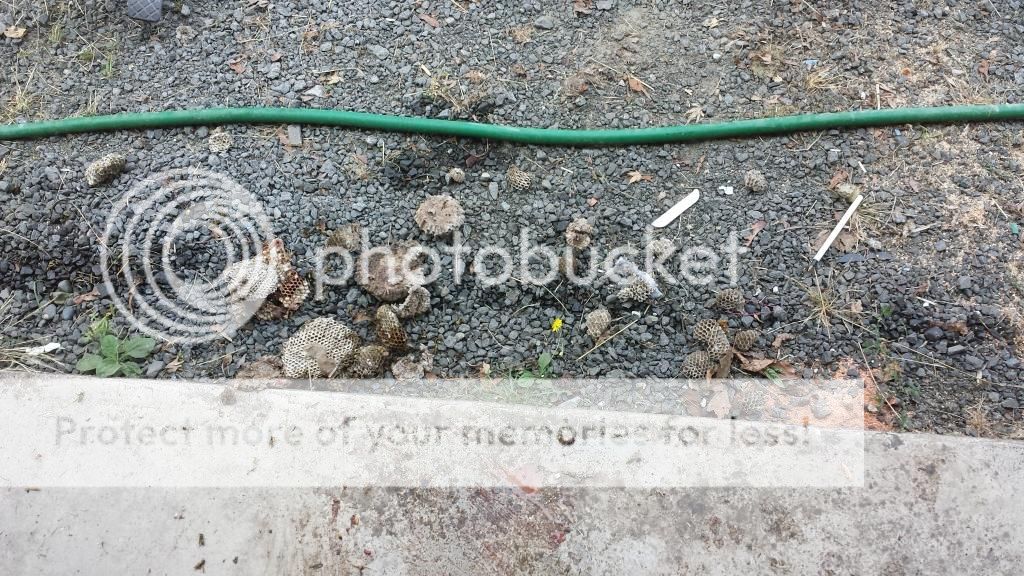
and while i was messing with the spring mount reinforcements for the garage doors, i ran into some old "friends". just a bunch of dicks actually. but i relocated them.

Image

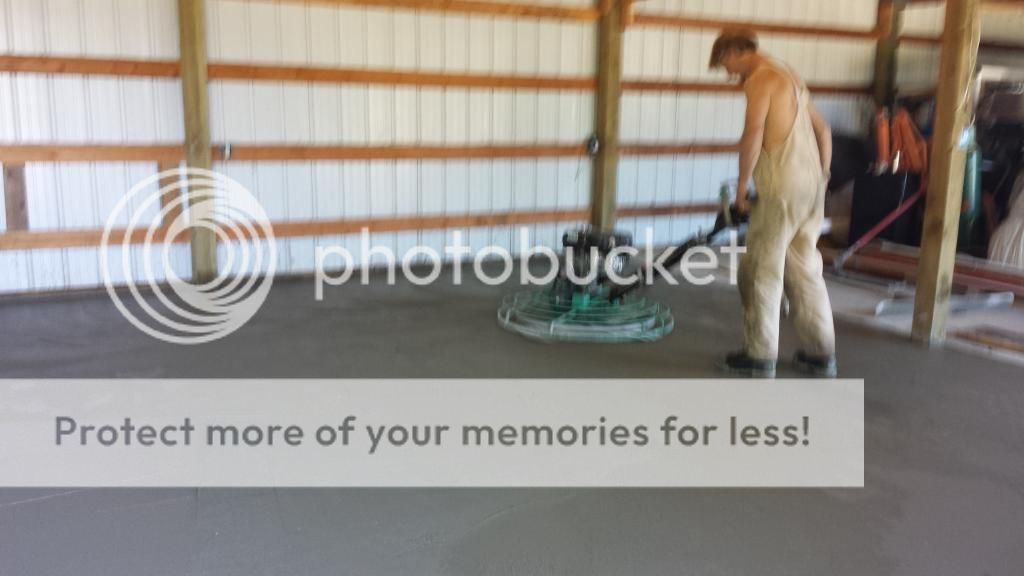
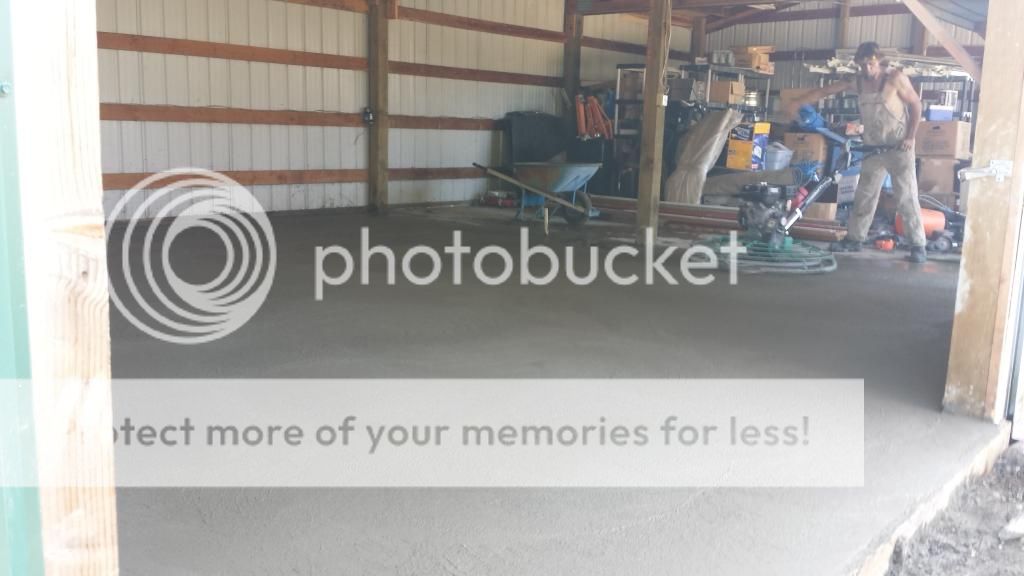
Builder Jeff, as Chubby calls him, gettin his smoother on.

Image

Image

Image

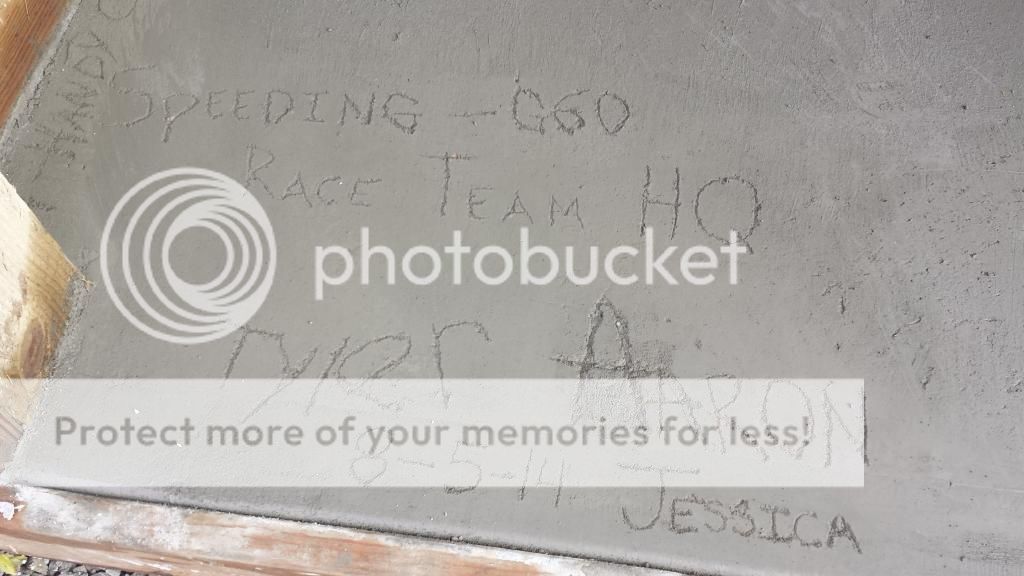
and of course, it aint personalized until its "signed"!!!!

Image

Image

Image

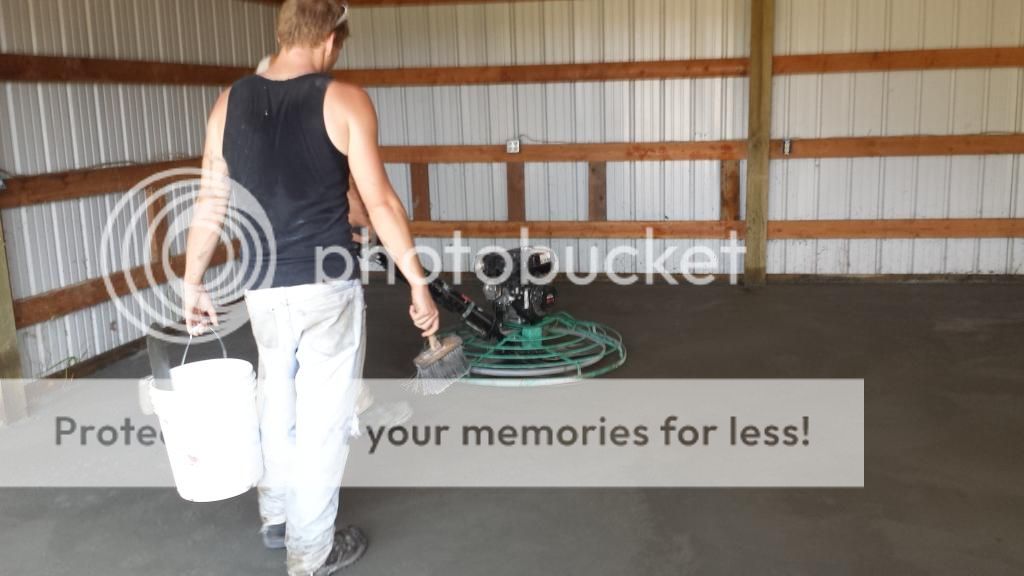
so its down and done, i cure/sealed it even though the yard guy didnt clean out the cure can and it was FULL of chunks that kept plugging up the tip/line. we swapped to the oil spray can he had for his tools, and it worked much better until the pump handle broke. good enough, said i, and on home they went. and the worst thing for them is they live 3 blocks from my old house!!!! i feel for them to drive ~90 miles back home tonight! it was a long ass day for them, they left there at 6:45 AM and arrived around 8:30, left at 6:00 aqnd who knows how long to get home but i surmise 2 hours minimum.
User avatar
speeding-g60
Posts: 2152
Joined: Fri Mar 01, 2013 10:46 am

Re: Aarons shop project..... begun.

Post by speeding-g60 »

oh yeah. the mud ticket said i got just under 40,000 pounds of raw product ;) thats a fair bit of weight HAHAHAHAHA
User avatar
pete82
Posts: 105
Joined: Mon Aug 05, 2013 9:42 pm

Re: Aarons shop project..... begun.

Post by pete82 »

nice! wonder what your going to create in this new place

what happened to your arm? hope it was nothing too serious?

I'm now over in america, just gotta wait to see what project I end up with

peter/acidburn
User avatar
speeding-g60
Posts: 2152
Joined: Fri Mar 01, 2013 10:46 am

Re: Aarons shop project..... begun.

Post by speeding-g60 »

Pete, the labrum was torn in 4-5 places and the long-head bicep tendon was 90% torn free. somehow. i dunno. but it hurt like anything i have ever known. still does 4 weeks later after surgery. i dont think it is all of the little suture anchors they drilled into the bone, i think its more muscular/tissue pains i have now. expecting a year long recovery, no racecar driving this season at all for me even.

anyhow, of course did more.... started with insulating the walls, and also located and put up the first lumber to facilitate expanding the storage areas..... making a loft in bay one 12x12 @ 7 ft or so. will make the same loft in bay 4. and moved stuff around some. just moving stuff around to make the area for the bay doors clear.

Image

Image

Image

Image

Image

Image
User avatar
pete82
Posts: 105
Joined: Mon Aug 05, 2013 9:42 pm

Re: Aarons shop project..... begun.

Post by pete82 »

fast recovery mate, just try and take it easy and let yourself recover and your be back sorted soon hopefully :)
User avatar
speeding-g60
Posts: 2152
Joined: Fri Mar 01, 2013 10:46 am

Re: Aarons shop project..... begun.

Post by speeding-g60 »

First loft finished today then started on the tool bench/pegboard wall.

Image

Image

Image

Image
DE80q
Posts: 2572
Joined: Mon Mar 04, 2013 9:25 am
Location: York PA 17403

Re: Aarons shop project..... begun.

Post by DE80q »

Very nice new setup you will have there! This is all happeneing very quickly. Just make sure not to hurt that freshly repaired arm.
"If you can't find one, make one"

Dallastown, PA
1991 Audi 80 quattro (20vt project)
1991 Audi Coupe Quattro (project: my first 20v)
2007 Mitsubishi Raider(Dakota in disguise)
2019 Chevy Cruze RS hatch (wife's little red sporty car)
User avatar
speeding-g60
Posts: 2152
Joined: Fri Mar 01, 2013 10:46 am

Re: Aarons shop project..... bench started

Post by speeding-g60 »

yeah, that shoulder.... its hurtin really good. thats why i have other people to help with lots of this lifting, etc. even the wifey, too.

but after a long ass day at work, out in the field at a forge site, i didnt get sent home as nobody at the office was at risk haha. but i got stuff done after work.

put up one pegboard (went from 2 at 2x4 previously to now 2 at 4x8) and framed out the primary workbench in the lift bay. the new bay next to it (this is bay 2, its backwards but i am going from entrance mandoor on the right side being 1 and going left)is also a lift bay as well, as my lift is the home-owner removable portable type :)

stopped here as i forgot a sheet of plywood, i thought i had one here but the one i have is only 1/2" thick. that aint gonna cut it. i overbuild shit for a reason. think of it as "safety factoring" haha. but i like heavy duty and able to be abused.

and when i do stuff like this, i kinda just swing from the hip, use what i have, and design it as i go. i start with an end result in mind, and build to suit. this one has a couple cool little things gonna happen with it, i wont spoil them either until i do them.

i do stuff kind of unconventionally at times i guess. build in place, to suit, never fails me though. i know what i want, i have spent enough time daydreaming this freakin thing!!!!!

Image

Image

Image

reused these burly ass legs from some old stuff i took down here. they had planks to match too. got 6 of these legs, 2 per bench??

Image

Image

Image

Image

Image

Image
User avatar
speeding-g60
Posts: 2152
Joined: Fri Mar 01, 2013 10:46 am

Re: Aarons shop project..... bench started

Post by speeding-g60 »

bench not finished. but has come a fair ways. i did a shelf on the side of the bench and a 3x12 "loft" over the bench at the same level as the "mezzanine" LOL. the second half gets the same treatment, BTW, just mirror imaged.

did some lighting work, using some salvaged T8 4 foot two bulb stuff i saved from the dumpster on a demo job :) when adding floors you need lighting under them haha.

Image

Image

Image

Image

Image

Image

Image

Image

Image

Image

Image
User avatar
speeding-g60
Posts: 2152
Joined: Fri Mar 01, 2013 10:46 am

Re: Aarons shop project..... bench started

Post by speeding-g60 »

Good night sweetheart.

Image

Image

Image
User avatar
All_Euro
Posts: 319
Joined: Sun Mar 03, 2013 10:59 pm

Re: Aarons shop project..... bench started

Post by All_Euro »

Wow - I blink and she's almost wrapped up... nice work.

Ya, since your previous concrete wasn't cracking and just needed to be levelled, I'm sure it's fine. With the post and beam style structure of your shop I guess no real weight is on the pad. Good to see you chaired up the rebar and doweled it into the existing slab - smart.

Nice loft too... keep the pics coming :thumbsup:
Work - Houzz / linkedin
Play - Haldex Swap
User avatar
speeding-g60
Posts: 2152
Joined: Fri Mar 01, 2013 10:46 am

Re: Aarons shop project..... bench started

Post by speeding-g60 »

i got LOTS to go on it actually. the garage doors had to be custom ordered, odd size at 8 foot tall and 10 foot wide. bay one (with the loft) has a normal horizontal door track while bay two follows the roof pitch. that door will also have a belt drive opener too.

the bays 3/4 are basically a mirror image of 1/2, except instead of fab area in 4 (which is what back of bay one is) it is storage, shelving, and bay 4 is the new home of the MK3.

bay 2 is the primary lift bay as it has the access door, but bay 3 will also have the receivers in the concrete to accept the lift there as well. its a 10-15 minute job to move the lift from one bay to the next. easy peasy.

bay 4 will also get a half loft, and bay 3 will get the same bench and mini-loft area. the toolbox goes between both benches.

i have been planning this workspace for more than a year... and it is FINALLY coming to fruition.

tonight i did another light check, and did the planning for the lighting control/switching, etc. going to work on that stuff as it is pretty simple(ish) in my mind anyhow. 2 switches at the doorway. one for the fab area, the other for the lighting control panel at the main bench. that way what lights i want on at any given time are all controlled from the one primary work spot. leave those lights on, and when i leave the shop i turn off the master switch and all goes dead.

9 zones of lighting if i need it :)
Post Reply